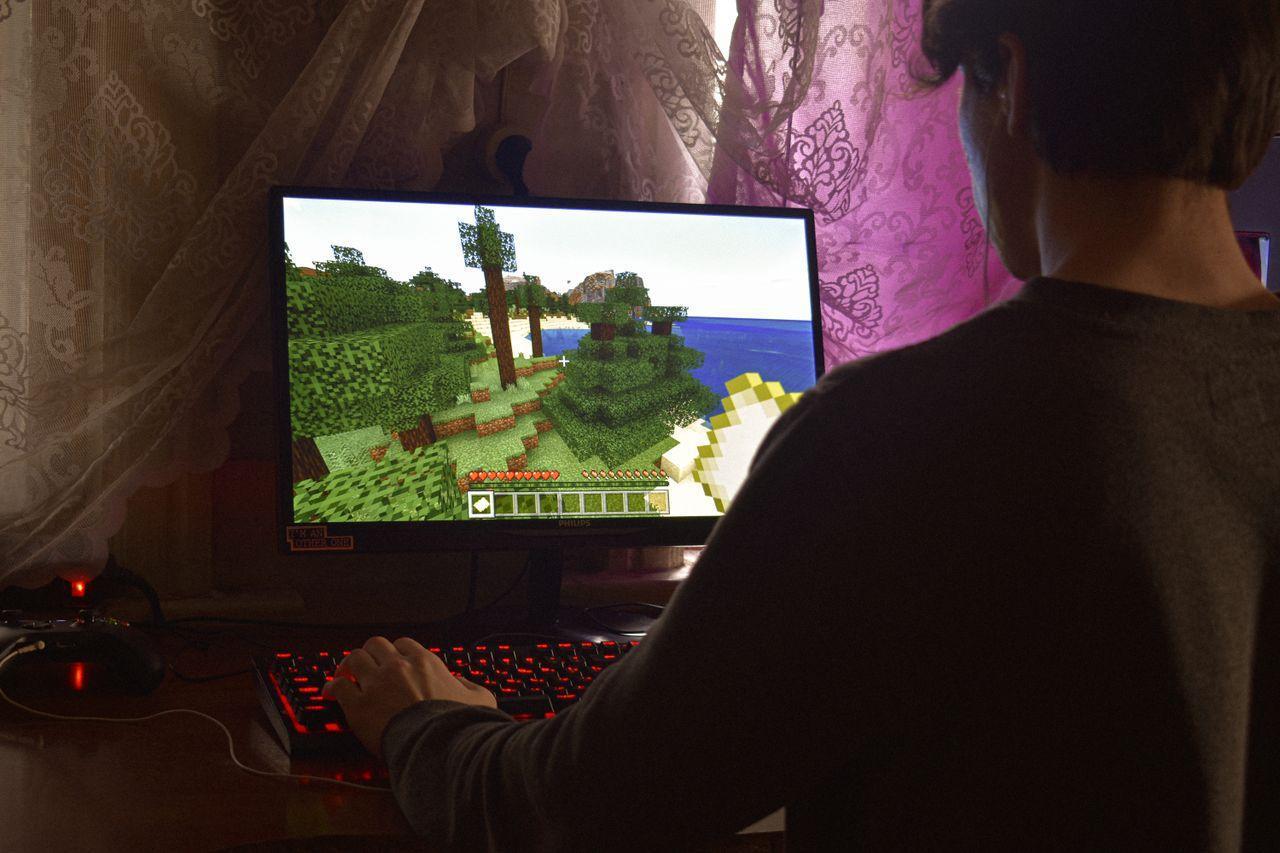
Private Minecraft servers provide you with more control over group gaming. You decide who plays, which version of the game to use, the rules, and whether mods or plugins are allowed instead of joining a busy public world. It might be a little survival world with a few people or a large community with its own maps, permits, and gameplay mechanics.
The first big choice is whether to rent a server or host it on your computer. Paid hosting is better for players who want to connect to the server even when their monitor is off. Hostinger coupons from HostAdvice can help you save money on running your Minecraft server, especially when you are setting it up for the first time.
Expect How Many Players?
First estimate how many people will usually be online. A four- or five-friend server has different needs than one for dozens of gamers. More individuals require more memory, computing power, and bandwidth, especially while traveling. Choosing resources based on practical use is usually better than buying a larger server than needed. Updates are usually possible as the community grows.
Choose Between Java and Bedrock
The Minecraft Java and Bedrock versions have distinct settings, so choose the appropriate version for your users before purchasing hosting or server software. Java Edition is known for mods, plugins, and advanced customization, while the Bedrock Edition simplifies play for several device types. Make sure your organization knows which server edition it uses. Connecting to an incompatible version can cause miscommunication before anyone is born.
Install the Server Software
The Minecraft server software must be downloaded and placed in a separate folder if hosting on your own computer. The server will build configuration files the first time you run it. The server won’t start until you accept Minecraft’s end-user license agreement. Hosted plans, which install software via a control panel, make the process easier. Either way, organize server files so configuration files, backups, and world data are easy to manage.
Configuring Basic Settings
The server properties file controls many basic rules. Here, you can change game mode, difficulty, maximum participants, and more. A private server should use a whitelist to allow only approved players. Instead of a join-and-leave server, add friends with Minecraft usernames. Operators’ commands might modify the environment or harm other participants; thus, administrators should provide rights carefully.
Mods and Plugins: Think Before Installing
Mods and plugins can modify the experience, but too many might cause compatibility and performance difficulties. Start with a stable server and add features gradually. Players should install and use server-compatible client-side mods. Plugins help with permissions, teleportation, moderation, and server management. Before making major changes, back up configuration files to remove problematic settings.
Backup to Protect
Backups should be included in the initial setting as creating a private Minecraft world can take months or years. Make these often and keep a copy apart from the live server. Hosting services usually feature automated backup tools, although self-hosted systems may require more planning. Before applying updates, upgrading mods, or relocating the server, files often become corrupted or incompatible, making backups essential.
Test Before Inviting Everyone
Connect and practice before sharing the server address with the group. Check that the world loads, permissions operate, and the server stays stable as you navigate. Invite some friends and test the performance with many players. Fixing little mistakes now is easier than troubleshooting when everyone is ready to play. A correctly configured server can become a shared environment that your organization can administer and build.
Image attributed to Pexels.com