The Guardian Ape is the fourth boss in Sekiro: Shadows Die Twice. He is found at the bottom of the Sunken Valley area. You can reach him by heading along the left path once you reach the cliffs with the monkeys. Down in the lake, you will find the Ape.
The Guardian Ape is a relentless attacker with a lot of different moves. On top of that, he has a completely different second phase that is less about attacking and more about whittling down his health so that its posture bar will drain slowly. Both phases take one healthbar.
Guardian Ape Boss Guide
To prepare for this fight you are going to want to have at least attack level 4 and have at least 13 Vitality. Also, bring the Firecracker Prosthetic Tool for the first phase.
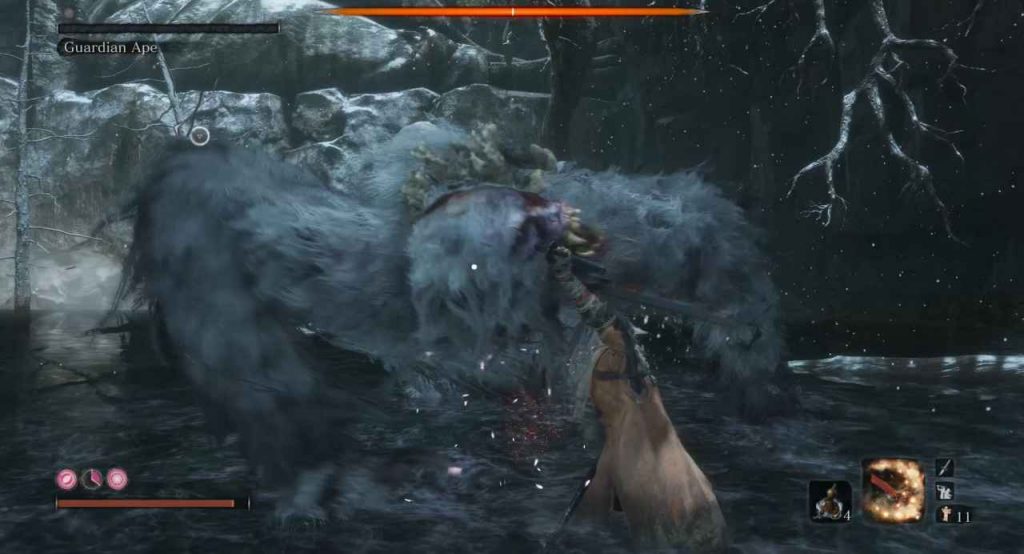
The majority of its attacks can be deflected and should be. You will want to attack when it is recovering from its moves. It moves around fast and a little sporadically.
Firstly, it will occasionally hop back and start roaring. At this point you want to get close enough and grapple to it, performing a sword attack on your way down.
If he hops on the spot twice and the perilous symbol appears you want to jump to the left, over his sweeping attack. You can get a hit or two in after this.

it has a few standard combos. The swipe from above him will end with it sitting down. You can get a hit or two in here. But, be warned, sometimes it will combo this attack into another two hits and a sweep attack. If this happens you will want to back away.
it can also perform a five hit combo, which starts with it slamming both arms. It ends with it jumping and slamming down both fists. If you are far enough away you can keep dodging back to get away. If you are close to it, deflect the first two attacks and then dodge backwards as much as you can. When the combo is finished you can get some hits in.
It will follow this up sometimes with a different three hit combo which should be deflected easily.
If it slams its left arm down it is about to swipe and then fall on its back and smash around. You will want to jump to the right, over the attack and then dodge to the right again. Once it slams its right arm for the third time you can start attacking.
It has one more perilous attack in this phase. If it starts running towards you he is about to roll and grab you. To dodge this you need to dodge backwards a couple of times as soon as you believe this is the attack it is going to do. If you leave it too long he will still grab you anyway.
The final attack will happen if you are behind it at any point. He will release gas and spray poisonous toxins at you, dodge out of the way to avoid it. To follow up, it will then pick-up his faeces and throw it at you. To dodge this you want to get far away from the ape and run to the side until the faeces hits the ground next to you
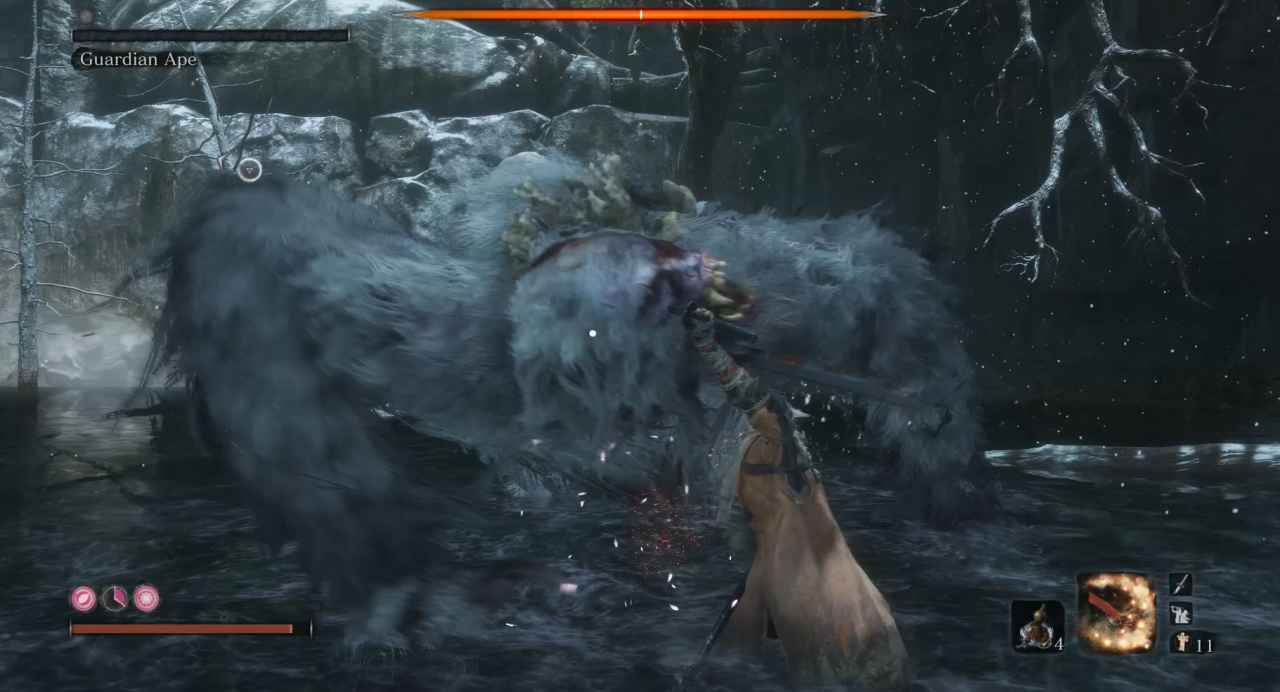
You can stagger it two-to-three times in this fight, allowing you to get a lot of damage in. it will roll back when you have done enough damage.
You will want to use your Firecracker Shinobi Tool a few times in this fight. A good attack to use this on is his Perilous sweep. This will stun him and allow you to get upwards of five hits in. Once you use the Firecrackers a second time it will slam down on the ground before it becomes stunned. Dodge this by stepping to the side three or four times.
Eventually, you should have killed him.
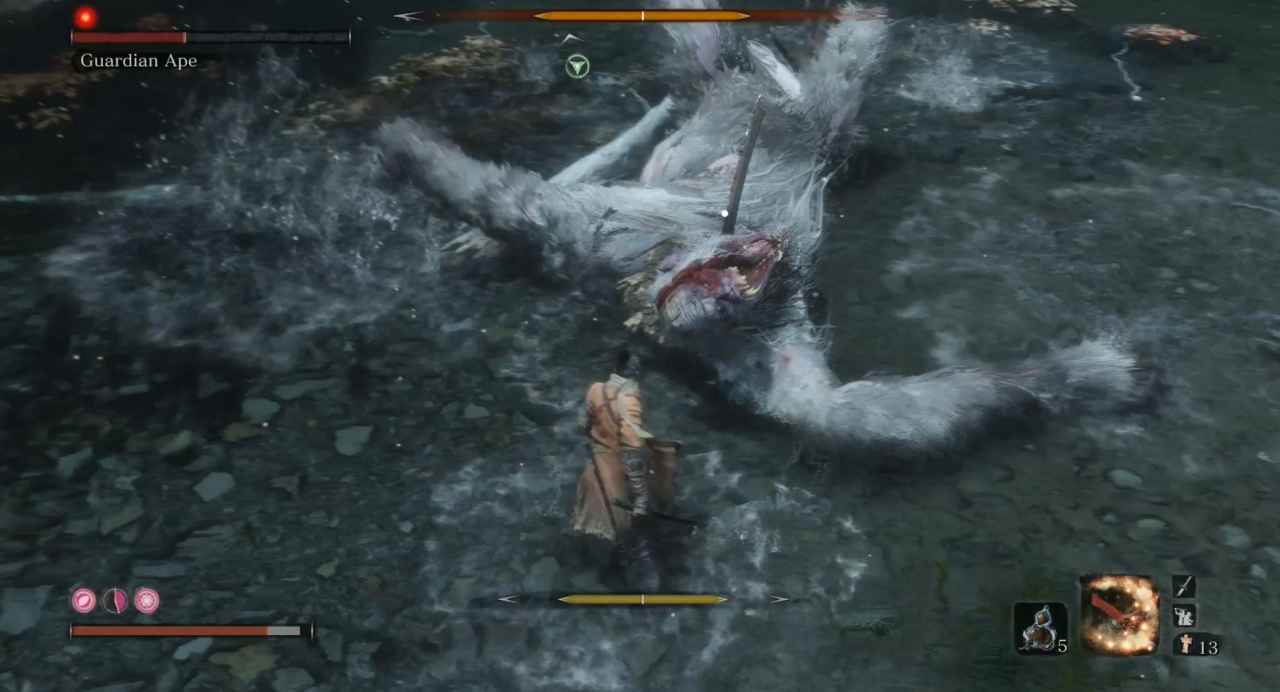
But wait, you said there was a second phase.
Why, yes there is. After a few seconds, the Ape will wake back up and pick-up its head as well as the sword that was previously lodged in its neck.
This phase is a long drawn out one. There is not much time to get hits in and he has a lot of attacks that force you to run away. There are two ways to end this fight. You can fill the posture bar up as usual. However, if you lower its health to nothing it will stagger allowing you to do a deathblow and finish the fight. I recommend the latter and attacking only when it is safe.
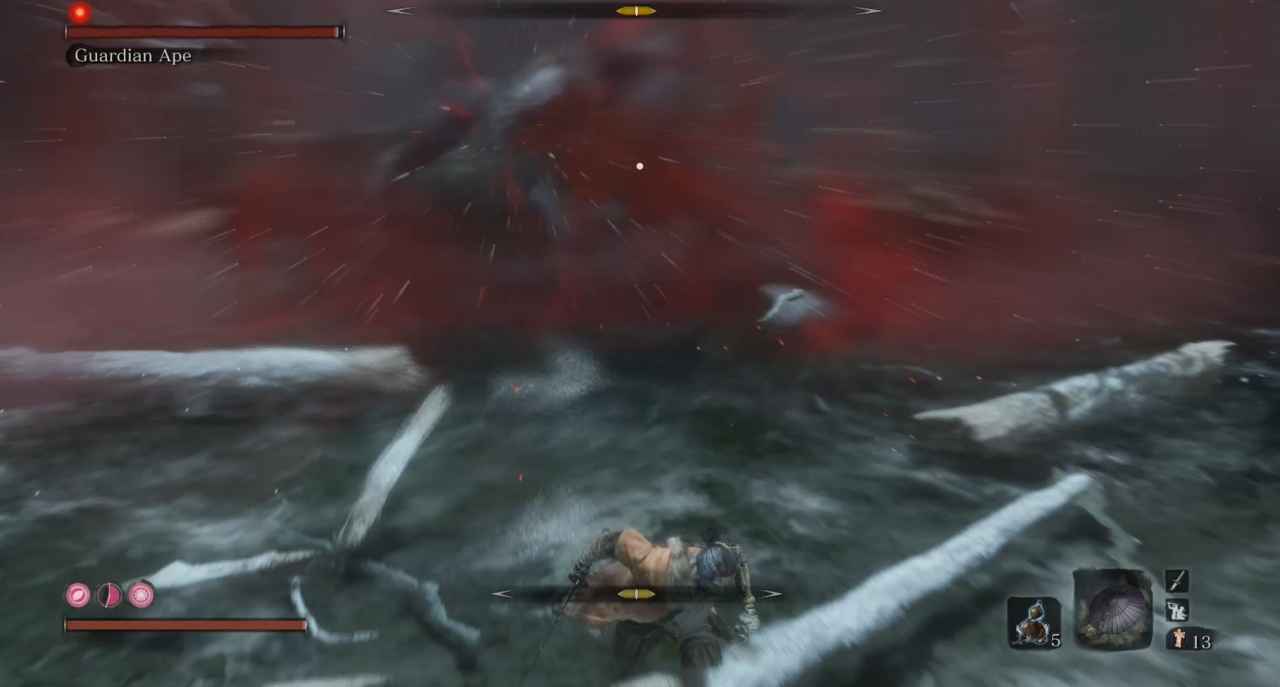
If the perilous symbol appears and a vortex-like effect appears, you want to back up a lot. This scream causes Terror and will instantly kill you when the bar is full. This attack can either be short or a couple of seconds longer.
If it jumps towards you, run around to the left in a large curve to avoid the sword attack and get a hit in.
If it holds the sword to its left lower body, deflect these four thrust attacks. If it raises its arm on the second attack dodge around to the right to get some hits in as it slams the ground.
If it jumps into the air run backwards for a second or two and then dash into it as it slams the ground for a few hits.
The other perilous attack it can do is a sweep. You will want to jump to the right this time so you can get some hits in.
It may also twist the sword and raise it straight above its body. Dodge this slam and any other slams by steeping to the side multiple time.
As I said, it is hard to keep its posture bar full in this phase. Therefore, learn the attacks and only head in for some hits when you feel safe. You will eventually get its health to nothing, allowing you to perform a deathblow, killing it for good.
Our walkthrough of the Sunken Valley area is now live. You can check out our complete walkthrough of the Ashina Castle area. Stay tuned over the next few days for more Sekiro guides.