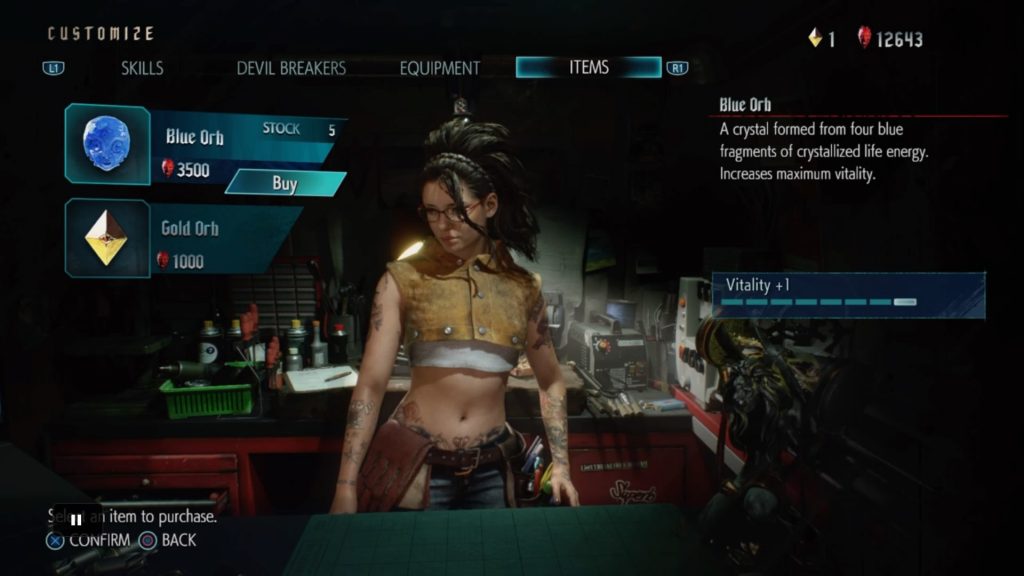
Devil May Cry 5 brings back the Blue Orb Fragments from past title’s. These orbs are used to increase your maximum health and are scattered through out the entire game. You must collect four fragments in order do obtain an entire orb. Once four fragments are collected your health will increase.
Some of these fragments can only be acquired by finding and completing the twelve Secret Missions in the game which this guide will also cover to help you acquire the maximum health you can get.
The written guide can be found below this video guide:
Mission 1
- After you get to the collapsed bridge. Jump down and look behind you to find your first Blue Orb Fragment.
Mission 2
- While in the skills menu before you start the chapter you can purchase 6 whole Blue Orbs for various red stone prices.
2. While progressing, you will reach a room in the hotel where the 2nd Nidhogg Hatching will be. You’ll be attacked by two scythe monsters. Before defeating them, look for the wooden floor spot. Allow the monsters to swing at you to dodge their attacks, making them break the floor. The Blue Orb Fragment will be your reward.
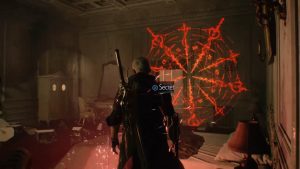
3. The next Blue Orb Fragment is acquired when you complete your first Secret Mission. You can’t miss this one as you’ll get a tutorial for it. Complete the mission and you’ll receive the fragment.
4. After you acquire the Nidhogg Hachling around th building. As you make your way to the Nidhogg wall you should see a Devil Breaker item pick up on a platform. You should also see a broken wall in a building inside this building is the Blue Orb Fragment.
Mission 3
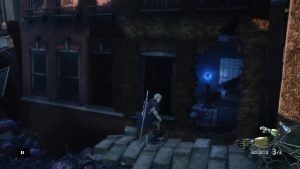
- When you make it to the second rooftop, instead of standing on the platform and grappling to the next roof. Head to the east on the same roof and look for the Blue Orb Fragment between two ventilation systems.
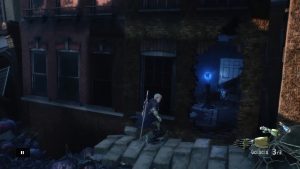
2. When you destroy all the blood pouches and enter the staircase, head down to the bottom floor and find the secret mission. Complete the secret mission to acquire the Blue Orb Fragment.
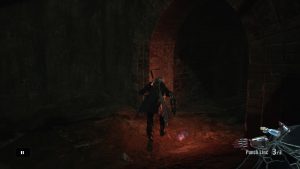
3. In the same staircase as the secret mission. Head all the way to the top of the staircase. Stand on the platform and grapple up the opening in the ceiling to find the Blue Orb Fragment.
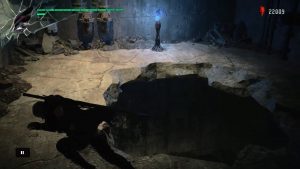
Mission 4
1. When you reach the big open area you will learn how to use Devil Trigger with Shadow and Griffin. In this area, you will see a giant mural on the wall of one of the buildings. Simply summon Nightmare (V’s giant golem) it will break through the mural wall, revealing a secret passage. After the battle head inside the building. The Blue Orb Fragment is on the second floor.
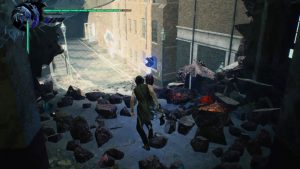
2. If you continue to explore the newly created passage by the Nightmare you will find a Nidhogg Hatchling. The second one in the level (if you picked one up earlier before entering the warehouse after the bridge collapsed). With the second hatchling, in your possession continue through the level until you encounter a barrier on your left hand side on the street. Remove the barrier by using the hatchling and claim the Blue Orb Fragment.
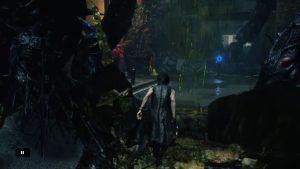
3. In the same area as the last Blue Orb Fragment, there is a second hatchling barrier. Use the second hatchling on the barrier and make your way to the top of the building. At the top you will find the next secret mission, complete it to get a Blue Orb Fragment as a reward.
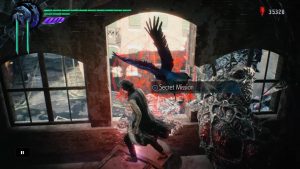
Mission 5
1. After your first huge group battle in the warehouse you’ll drop down into a big open area. Look behind you and to the left. There’s a small passage leading to the back of the warehouse. At the end of the path is a Blue Orb Fragment.
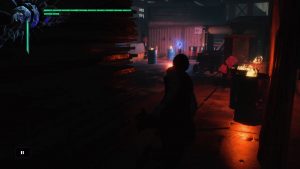
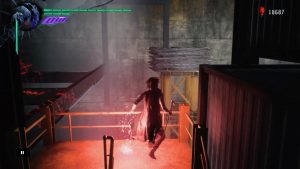
2. This is in the same big open area that you drop down to after the big group fight. Summon Nightmare, it’ll smash the shelving in front of you revealing a massive open area. Defeat all the enemies that spawn and head up the scaffolding in that area. At the top is a Secret Mission with a Blue Orb Fragment as a reward.
Mission 6
NO COLLECTIBLES
Mission 7
NO COLLECTIBLES
Mission 8
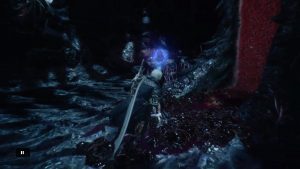
1. As you run into your first Divinity Statue (upgrade statue), continue on the main path. You’ll see the Blue Orb Fragment in front of you. You’ll need the “Gerbera” to help you reach this Fragment. Start off by using the forward + Triangle attack to dash forward. At the end of the dash, double jump to reach the fragment. If you aren’t far enough, use the Gerbera to push yourself to each it. If you fail, simply restart the checkpoint to try again.
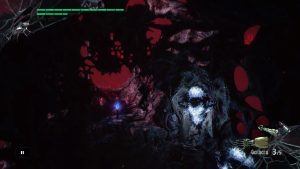
2. When you reach the second lava stream jump on the flowing platform. Quickly look to your left for two platforms one of which will have a Red orb branch. Jump on these platforms and you’ll see two moving grapple points. Ascend these grapple points. In the big open area, look for the secret mission point. The Blue Orb Fragment will be your reward.
3. Continuing on the main path. You find yourself at the second Bloodstream. Don’t interact with it. Instead, travel behind it and look for a tentacle to destroy. Destroy the tentacle and head back around to the front of the Bloodstream. The Blue Orb Fragment will spawn there.
Mission 9
1. In the big area where you fight the two Angelo Knights, continue on the path and head to the left side. You’ll encounter large vines, blocking your path. The Blue Orb Fragment can be seen on the opposite side. Summon Nightmare in front of the vines. It’ll spawn on the opposite end, destroying the blood pouch and removing the vines. Head inside and grab the fragment.
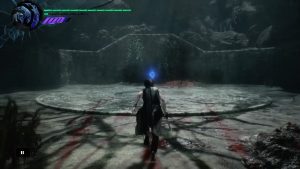
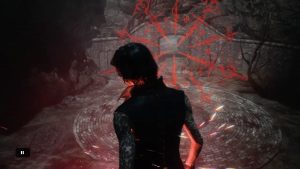
2. In the same are where you acquired the Blue Orb Fragment. Jump on the ledge up against the wall and run around the platform look for the red dot and activate the Secret Mission. Complete the mission to acquire the Blue Orb Fragment.
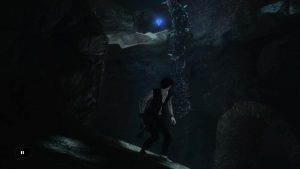
3. In the catacombs, you’ll jump down a big hole. After you defeat all the enemies, you’ll have to platform your way out. In this platforming section, look to the right hand side. At the very top, you’ll see the Blue Orb Fragment.
Mission 10
1. When you reach the big open blue-hued area, you’ll see an open passage with what looks like moving teeth. Before progressing into this passage you have to defeat the enemy that appears. Defeat it as quickly as possible because this passage will close if you don’t hurry. After the battle, head into the passage and head all the way to the top. At the end of the path, look to the left for a platform with the Blue Orb Fragment.
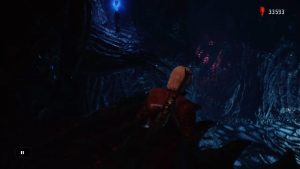
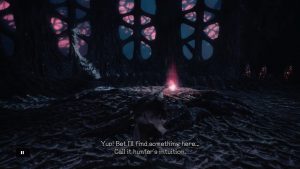
2. When you reach a green-hued area, you’ll see two passages with teeth to the left and to the right. Flying Fire monsters will spawn alongside a giant mantis monster. Defeat them as quickly as possible and head into the right-hand path. At the end of the path, you should find the red dot to activate the secret mission. A Blue Orb Fragment is your reward for completing this mission.
Mission 11
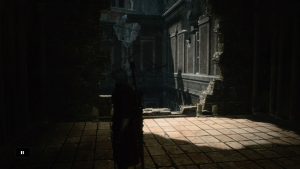
1. When you’re inside the crumbling building, you’ll have to destroy a Blood Clot to progress. When you destroy the first one, the building will shift. Head back up to the top of the building you progressed through. Look for the secret mission facing the wall south. Complete it for the Blue Orb Fragment.
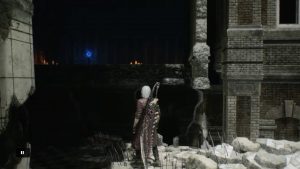
2. As you head down the building, there’ll be two more Blood Clots to destroy. Destroy the one that’s further left, and the building will shift again. You should clearly see a Blue Orb Fragment in front of you.
Mission 12
1. As you make your way up the spiraling tower, you’ll destroy two different Blood Clot walls. When you reach the second Blood Clot, wall destroy it and head through the passage. In front of you will be a lamp hanging on the wall. Turn around and you’ll see an angel statue and a wall you can climb up. Jump up the wall and go through the passages. The Blue Orb Fragment is down this path.
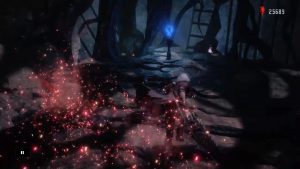
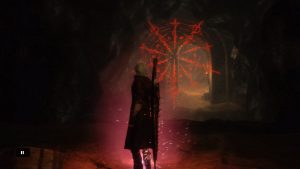
2. After all the blood is poured into the pool and the statue moves to reveal the passage beneath. Head down the path. When you reach the first stone, climb the stairs, turn around and you’ll see an alcove on the opposite side. Jump to it and find the secret mission. The Blue Orb Fragment is your reward for completing it.
Mission 13
NO COLLECTABLES
Mission 14
1. When you have to retrieve your Griffin, Panther, and Golem, you’ll see the Blue Orb Fragment on an unreachable cliff. When you re-acquire your Griffin, climb up the cliff on the left-hand side of the cliff with the Blue Orb. Jump and glide around the obstacle in your way and then use the teleportation ability by pressing R1 + Circle to teleport to the Blue Orb Fragment.
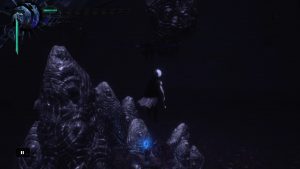
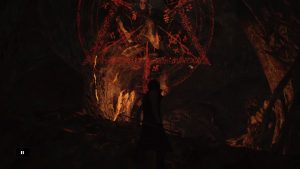
2. When you’ve re-acquired your three familiars you’ll reach a chamber where your path is blocked by large vines. Turn around and you’ll see the second blood pouch in a corner. Destroy it and head to the corner behind the blood pouch to find the secret mission, which will reward you with a Blue Orb Fragment.
Mission 15
1. When you reach the first Divinity Statue, take the path behind it. A cutscene will play, showing you the Blue Orb Fragment. The only way to reach it is to use the Rocket Punch Devil Breaker and ride the Rocket Arm up the multiple paths to reach it.
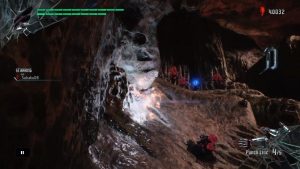
2. Just below where you acquired the Blue Orb Fragment from the Rocket Punch Devil Breaker is a platform that progresses you through the story. Fall down on this platform and head to the cliffside on your right side. The secret mission is located here and will reward you with a Blue Orb Fragment.
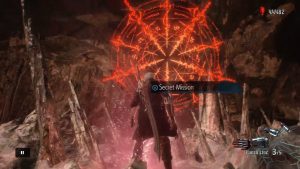
3. After reaching the second Divinity Statue continue on until you reach a room with a bunch of enemies and a platform in the center. Defeat all the enemies and a grapple platform will appear. Stand on it and grapple up to the second floor. At the end of the path on the second floor with be the Blue Orb Fragment.
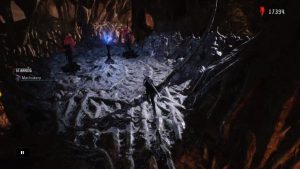
Mission 16
1. In this mission, you’ll fall down and descend a few massive chasms. When you reach the second chasms, instead of descending the second chasm, look ahead and you’ll see a passage with a blue hue around it. Head down this passage and descended the chasm. Eventually, you’ll reach a point where you’ll see the Blue Orb Fragment on a ledge opposite of you. Use the Stinger attack (Forward + Triangle). This will launch you forward. If you don’t make the landing, use a double jump or the Trickster style to propel yourself forward.
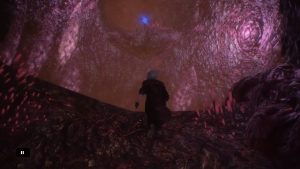
2. In order to get the second Blue Orb Fragment you’ll have to restart mission 16. This time when you reach the second chasm, don’t go down the blue hued path. Instead, jump down the second chasm. After defeating the armored armadillo enemies, you’ll reach another chasm. Look down around you and you should see a massive red orb team on the same platform that crumbles away right underneath you. Drop down to this ledge and run behind the massive red orb tree. Behind the massive red orb tree is a path that descends even further. Look around and you should see a big platform with floating red orbs. In the middle of it is one of the largest platforms you can find. Drop to this platform and run to the back of it against the wall. On this platform is the last secret mission in the game and another Blue Orb Fragment as a reward.
Mission 17
NO COLLECTABLES
Mission 18
1. After you defeat Shadow (Black Panther), you’ll have to ascend up a wall. When you reach the top three Red Orb Crystal enemies will spawn you have to defeat the three of them before any one of them can escape. Doing so will spawn the last Blue Orb Fragment in the game.
We hope this Blue Orb Fragment location guide helps you to max out your health and push back the demon hordes.