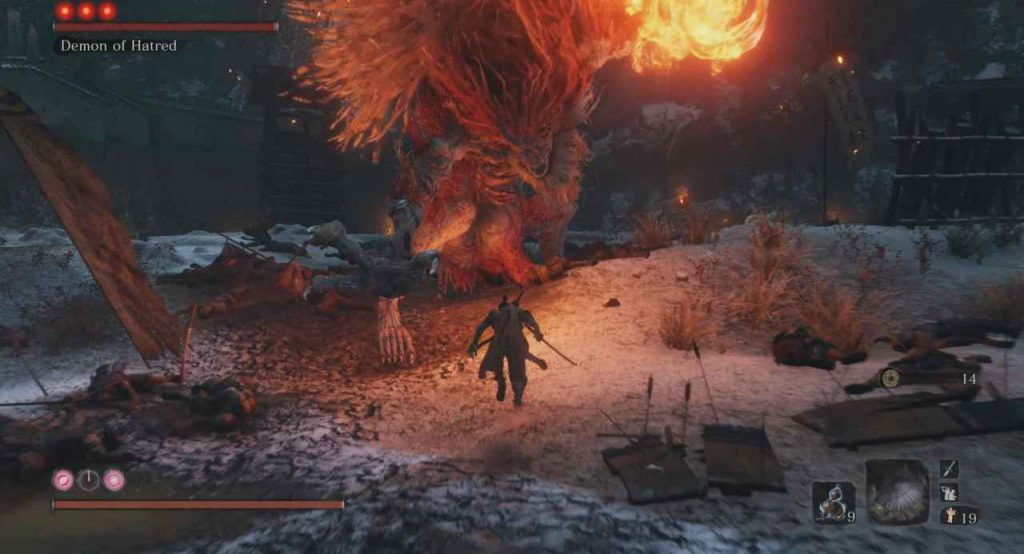
The Demon of Hatred is an optional boss found in the Ashina Outskirts (Burning) during the final state of the game in Sekiro: Shadows Die Twice. It is a tough fight as he has a large health pool and a lot of hard to read attacks.
He can be accessed by progressing backwards through the Ashina Outskirts area from the back of Ashina Castle. This guide will take you through all of his attacks and the best way to defend yourself against them.
Demon of Hatred Boss Guide
The Demon of Hatred has three phases, with each building on top of the other. Firecrackers will not work on this boss. Also, he will stun two times during each phase allowing you to get an additional five-to-six hits in.
The first phase has a lot of different attacks that he can perform.
At the start of the fight, you will always want to run up to him and hit his crotch area a few times. This is where we want to stay as much as possible. Being at a distance is a death sentence with the Demon.
He has two stop attacks that he can perform. Both of these can be deflected. If he lifts his left leg first, he will stomp his right leg afterwards. However, if he lifts his right leg first, he will only stomp once. You can get a few hits in after he has finished this attack.
His standard attack takes the form of a four-hit combo. You want to dodge through his first arm swing, deflect his next swing and his stomp, and then dodge to the side, behind his final arm swing. This can be really difficult to pull off and this will likely be the attack that kills you the most.
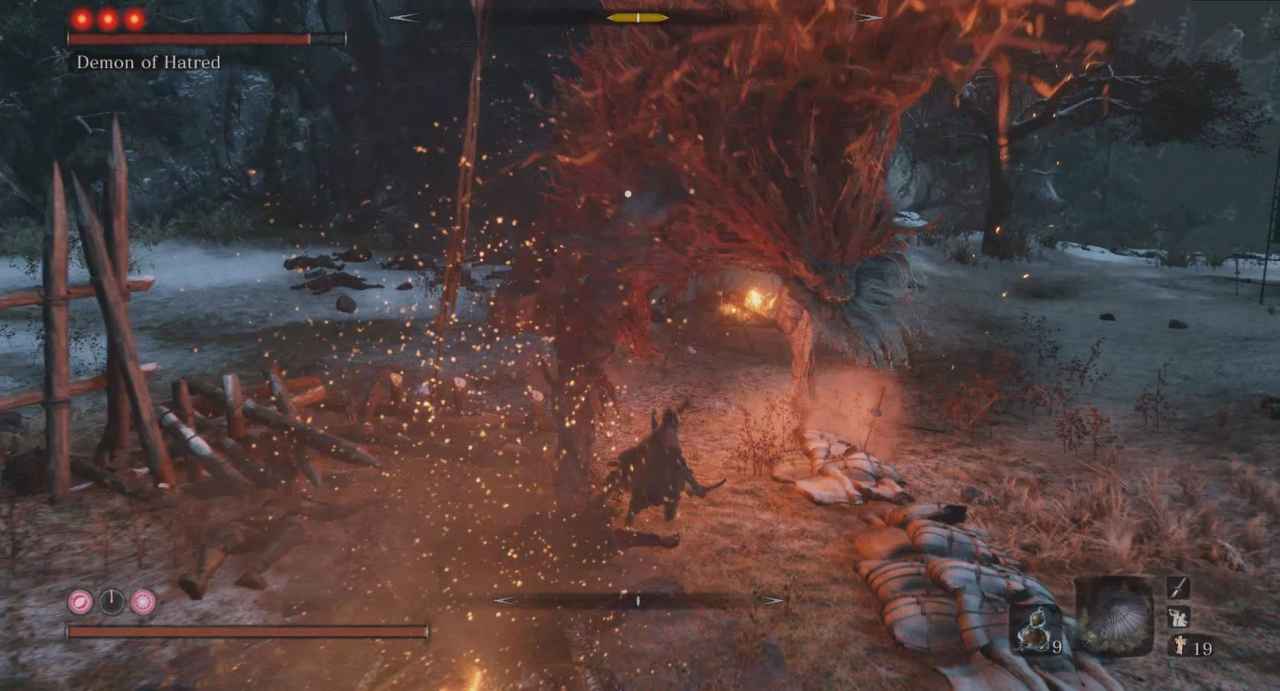
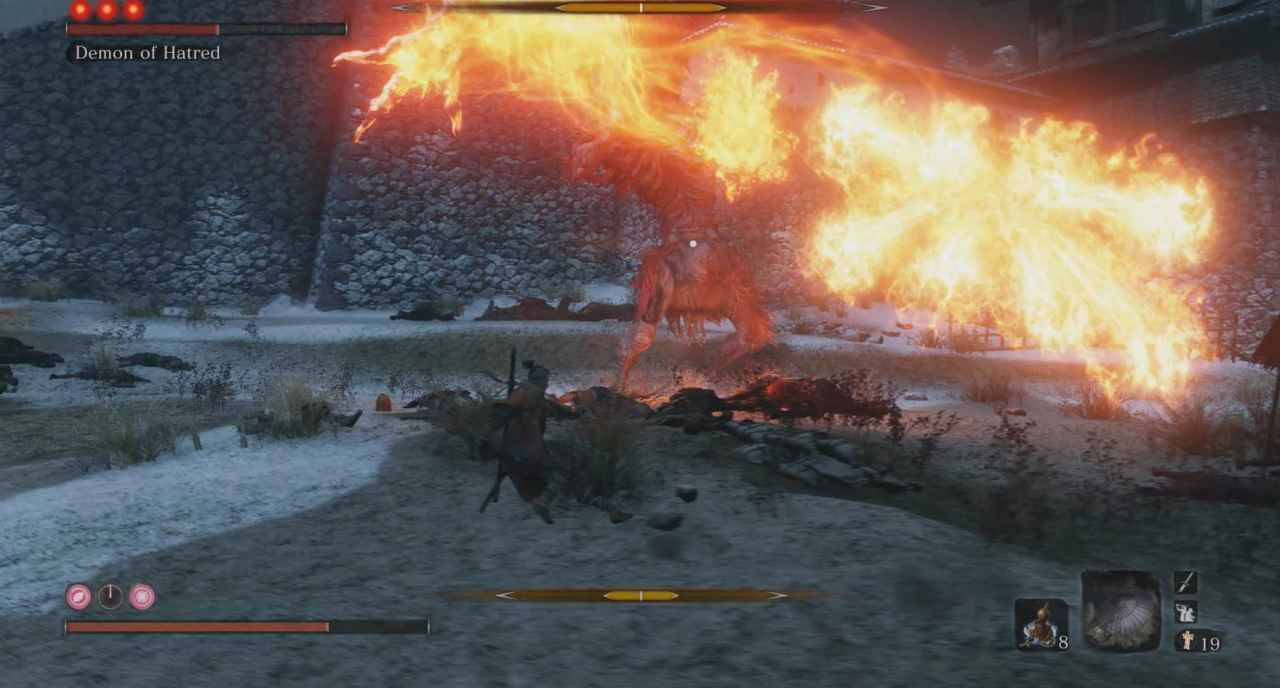
If he starts glowing orange, he is about to jump into the air and come crashing down, creating a giant explosion. You want to lock on to him, run away and grapple to him as he crashes to the ground. If you grapple too early, you will get knocked back and stunned. However, you will have enough time to recover; so, it isn’t a big deal if you get knocked back. You can get some hits in as you grapple back to him.
He also has a large sweep attack with his glowing arm that you can easily dodge under, allowing you to get a good number of hits in. This sweep attack takes a long time to perform and it takes him a long time to recover after it.
His only Perilous attack is a charging sweep. This has to be dodged by jumping over it to the left.
He will often follow this attack up with his ranged fireballs. He will throw these in a curved pattern. You can either dodge these by running left if you are close or by running backwards if you are far away.
On top of that, he also has a jumping attack that can easily be dodged by running around to the left of where he is going to land.
If you are standing still, he tends to push you with his right hand. This attack can be dodged; however, it is easier to deflect it.
Finally, he can slam his glowing hand down. You can dodge this by running to the left or right and slowly getting closer to him. Once he slams his hand you can get a few hits in.
Now, in phase two, the Demon gets four new attacks. These attacks are on top of all the other attacks mentioned above.
If you are at a mid range from him, he may lunge towards you. You can dodge this by stepping through his attack and getting a few hits from behind.
Whilst, next to him, he can headbutt you, which can easily be deflected.
He will do a swipe with his glowing hand and then lift his left leg. This will be followed up a trail of fire. In order to dodge this, you need to run left or right and jump just as he slams the ground. You will then be able to grapple over to the Demon.

He can also summon a bunch of fireballs that will track you. You can easily dodge these by running around in one direction. As he slams his second foot down, you should have enough time to hit him three or four times.
In the third phase, he has two additional attacks. At the start of the phase, he will summon a ring of fire around him, spinning his arm around twice. You can either stay away from him and not have to worry about the ring. Or, you can jump over his sweeps and attack him in the ring. However, you will be stuck in there until it dissipates. It really comes down to your own preference.
His other attack is a follow up to his Perilous sweep. After finishing it, he can come back and do another sweep that can also be jumped over. This time, you will need to jump to the right.
Overall, the best tips for this boss is to practice and learn his attacks. Staying close to him is a necessity as you can abuse the attacks of his that are easiest to dodge. His ranged attacks can be difficult to dodge.
You can check out all of our coverage on Sekiro.