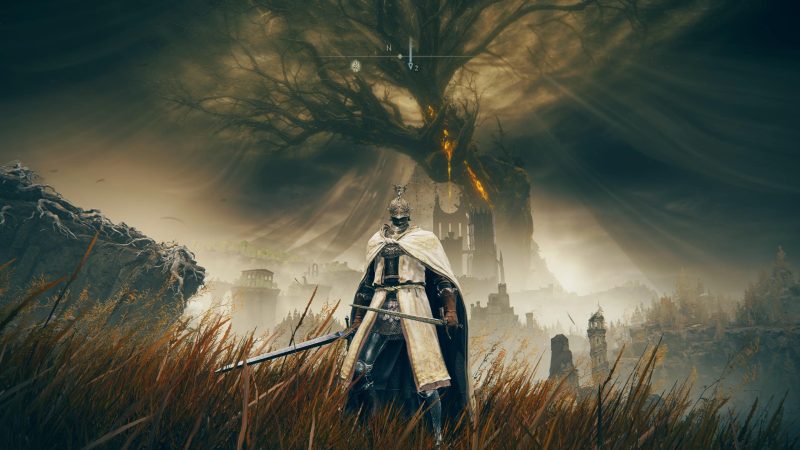
Elden Ring: Shadow Of The Erdtree Guide – First 5 Things To Do When Starting The DLC – We’re finally here! The long-awaited DLC for Elden Ring titled Shadow Of The Erdtree has arrived.
If you’re one of the players who read our guide and made sure to be prepared for the DLC day one, then stick around. If you’re not ready to play it right away, go check out our guide on how to prepare.
In this guide we’ll go through the first 5 things you should do when jumping into the Land Of Shadow.
Elden Ring: Shadow Of The Erdtree Guide – First 5 Things To Do When Starting The DLC
1. Avoid The Furnace Golem/Giant Wicker Man
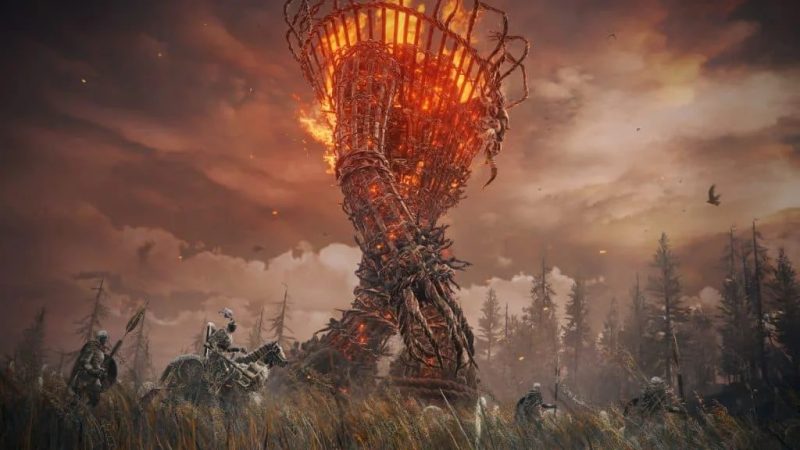
This feels less like something to go and do in the expansion and more like a PSA, but it is worth mentioning first and foremost because it is a potentially massive timesink.
There are a lot of difficult new enemies to face and eventually take down across the Realm of Shadow, and the Furnace Golem’s are arguably the most difficult simply because it’s nigh impossible to kill them right when you step into the DLC.
But it’s also one of the very first things you’ll see in the DLC. Right from the opening site of grace, you’ll look out into the opening area called the Gravesite Plains staring at the Scadutree in the distance, and you’ll be helpless to notice this giant, eye-catching and enticing giant walking tower of fire. If your first instinct is to not engage with it and do something else – follow that instinct, this is the best reaction to have.
It’s also, from one point of view, a boring instinct to have. FromSoftware have taught us all the joys of seeing some giant creature or god that looks impossible to kill and taking it down. So if your instinct is to immediately charge at it with everything you’ve got, then good luck to you. You can try taking it down by just whacking at it with your +10 weapon of choice, but you’ll quickly realize how slow that’ll take and the endurance required to stay alive as the fight goes on.
Not to mention the rewards for killing them aren’t exactly anything to write home about. Even with the rune-farming Golden Scarab talisman equipped, I only got 11k runes for taking down the one in the Gravesite Plains. You do also get a new Crystal Tear with each of the Golem’s you defeat, but your mileage may vary on whether or not those tears are actually useful to you.
There is a way to take these giants down of course, and you can check out our guide here for instructions on how to go about it efficiently. But you won’t have access to the tools needed until you’ve spent some time exploring the rest of the DLC.
Right when stepping in, your time is much, much better spent avoiding these ginormous beasts and coming back to tackle them later. Or of course you’re welcome to bash your head against them trying to defeat them for hours. It’s up to you, all the cool weapons and things to find in the DLC will still be there even if you’ve spent 10hrs just trying to take down the first Furnace Golem you see.
2. Go Grab The Beast Claw Weapon
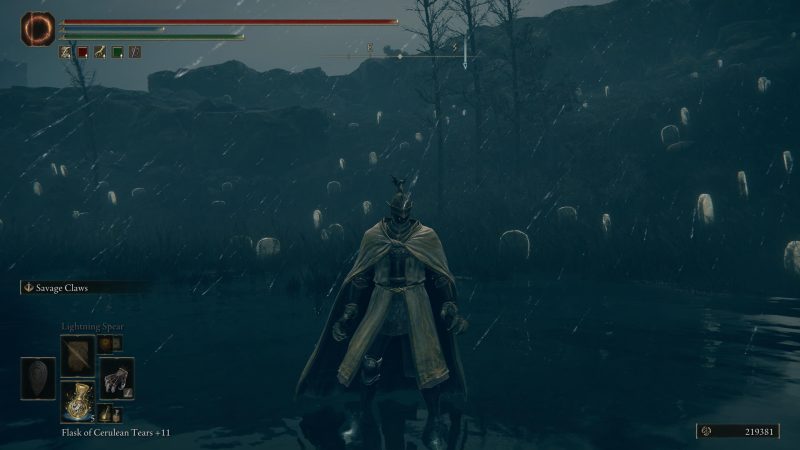
This is one of the best weapons to go and grab immediately due how close it is from the very first site of grace you’ll find and because it’s one of the weapons that showcases how your player’s movement capabilities in combat have been greatly expanded.
From the Gravesite Plain site of grace – the very first one you’ll unlock when you walk into the DLC – turn right and head directly into the center of a thicket of trees.
You’ll find Logur, the Beast Claw walking around the small forest, wielding the Beast Claw weapon. Take them down to get the weapon for yourself, so you can start heading into fights with something new up your sleeve.
It’s a great weapon for dexterity or arcane-focused builds as they do bleed damage and deliver a flurry of attacks in a short-time span with it’s special ability Savage Claws. A big bonus is that Savage Claws takes up very little FP per use, so even with a low Mind stat you can spam this ability so long as your stamina can handle it.
The Beast Claw is a welcomed evolution of weapons like the Bloodhound Claw and Hookclaws, and not one to be missed.
3. Find Your First Cross And New NPC’s
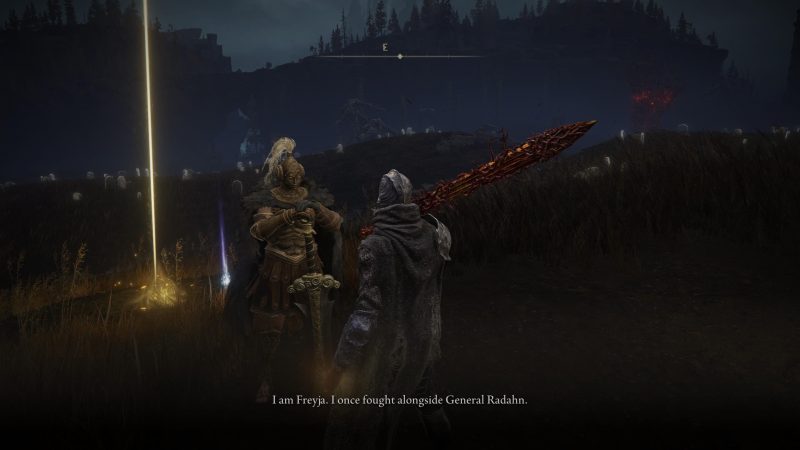
Once you’ve grabbed the Beast Claw it’s time to head back north, keeping an eye out for the first of the many Miquella’s Crosses you’ll find in the Realm of Shadow. You can head north from the woods where you grabbed the Beast Claw weapon and along the way find the map fragment for the opening area, some ruins to your right and a standalone boss fight to your left, but it’s more imperative to get to the Cross.
Once there you’ll find your first Scadutree Fragment, one of the newly introduced items purpose built for your character’s power scaling in the DLC. Just as important you’ll also have your first interaction with some of the new NPC’s in the DLC.
Meeting them and exhausting their dialogue is of course crucial to kicking off any questlines you may want to follow and getting a better understanding of the story being told in this DLC. You’ll also get to meet a new entry in FromSoftware’s line of ‘token nice and kind characters that should be protected at all costs’ in Sir Moore.
This first Cross is also important as it stands alongside the Three-Road Cross site of grace, which when you look at the map will show three directions from which you can choose where you want to focus your time first in this DLC.
4. Get The Two-Headed Turtle Talisman
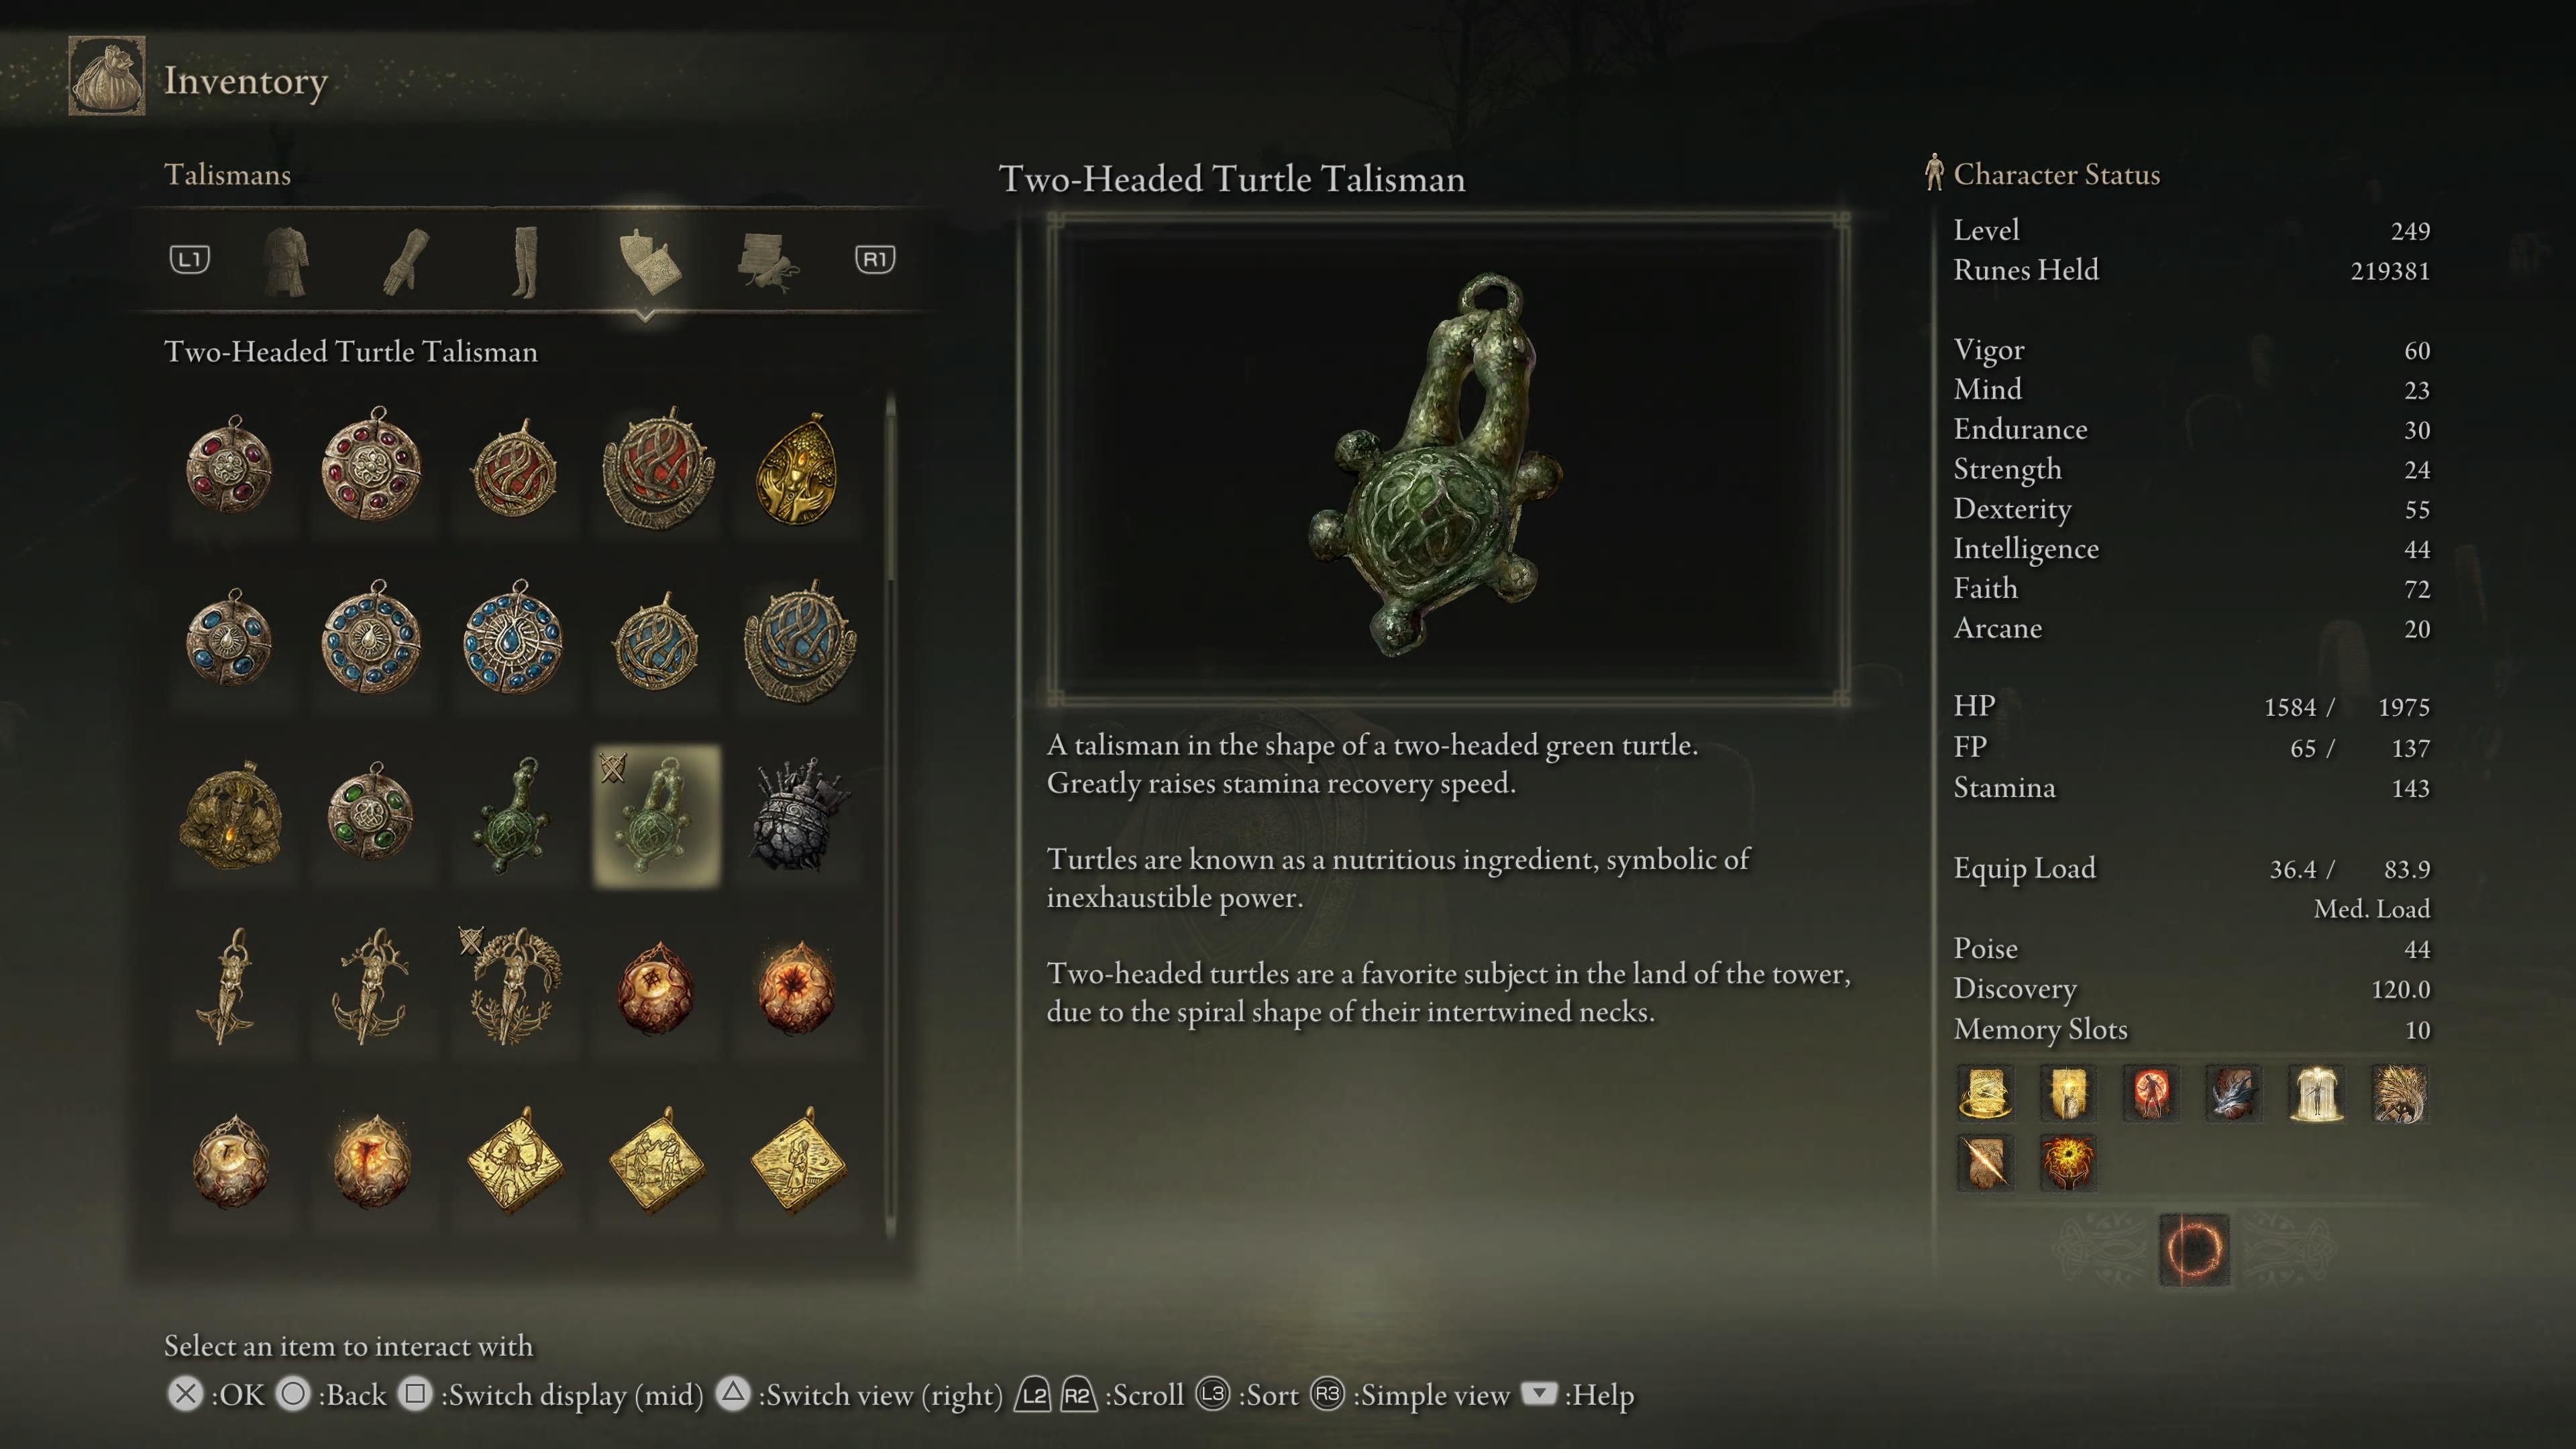
Fans of the Green Turtle Talisman will be happy to learn there’s a new and more powerful version in the Two-Headed Turtle Talisman. It’s even faster at replenishing your stamina than the base Green Turtle Talisman, and is practically key to any build hoping to be successful in the Realm of Shadow.
You see, enemies in the Realm of Shadow are far, far more aggressive than they are in the base game – and the same goes doubly so for bosses. Being able to keep moving in order to adapt to this new level of aggression is the difference between life and death in every fight you’ll have.
To get this practically essential talisman, you’ll need to head on a bit of an adventure but one that’s well-worth it since you’ll grab the talisman and have a starting point for venturing to new areas.
Beginning from the Three-Road Cross site of grace, head east towards Castle Ensis and the cross the bridge. You can try dealing with the enemies you’ll encounter on the other side or push through to grab the Castle Front site of grace.
Once at that site of grace, head south east while sticking close to the river where you’ll go through enemy camps and come across soldiers fighting a new kind of enemy. You should see the path diverge into two at this point: one that leads towards those enemies and beyond them a structure which houses an underground cave to explore, and the other that leads further down towards poison green swamps with poison flowers-a-plenty walking around.
It’s the latter of the options you need to head towards the talisman, but make sure to note the former path to head into one of the new underground areas in the DLC.
Looking at the map you’ll notice there’s a patch of blue just north of the green you’ll be standing in, that’s where you want to go. Keep left to find the tail-end of the Ellac River, and you’ll know you’ve made it when you find a giant crab on one side of it and a giant flower on the other.
Behind the giant flower is a small tunnel where you’ll find the Ellac River Cave site of grace on the other end. From that site of grace head north along the base of the river until you find a long waterfall on the northeast side. You basically have to go about as north east as you can to find it.
You’ll activate a fight with an Ulcerated Tree Spirit on the way, so it’s up to you if you want to fight that immediately or just keep running past it. Once you’ve found the waterfall and the talisman, you’ll have obtained one of the strongest and most useful new additions to Elden Ring for conquering the base game and especially the DLC.
5. Head To The Cerulean Coast
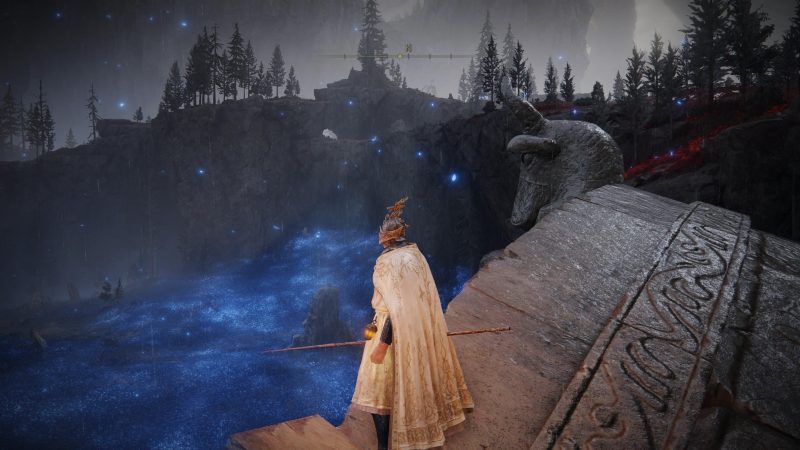
This last point is important because it gets you to one of the best looking areas in the entire DLC, and because it also leads you to an otherwise very difficult to find fragment of the map.
Each of the five map fragments needed to fill out the Realm of Shadow’s map save for one have their totems visible from the start. The one you can’t see is the one for the Southern Shore, which you need to travel through the Cerulean Coast to acquire.
Getting to the coast is rather simple, all you need to do is follow the Ellac River all the way to its most southern point. Simply start from the Ellac River Cave site of grace you should’ve already acquired when getting the Two-Headed Turtle talisman, and keep going south.
This will involve some parkouring and you’ll need to avoid some enemies to make it but it’ll be well-worth the effort. Once you get to the Cerulean Coast site of grace you’ll be rewarded with a beautiful view, and the further south you go the closer you’ll get to the totem for the Southern Shore map fragment.
Getting that fragment also puts you in position to quickly head towards one of the major bosses for the DLC and a key area for anyone interested in the lore of Elden Ring.
Of course your journey in the Realm of Shadow is your own, and you should head towards whatever seems interesting to you as you look out at the horizon and the map as you pick up new pieces of it.
But these five first steps not only help give you a good lay of the land but set you up for the DLC’s story, give you a new weapon and include some of the best views the DLC has to offer.