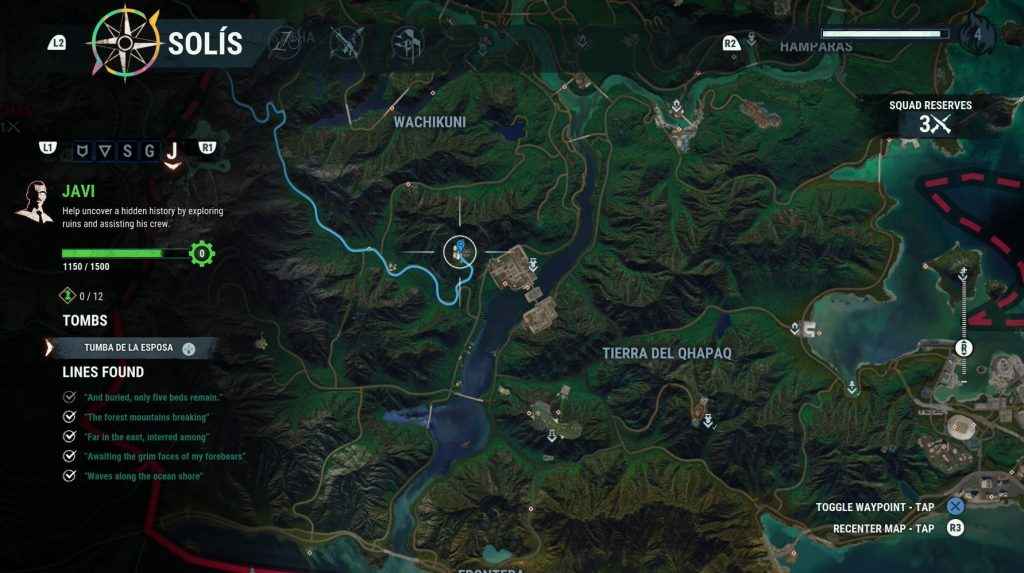
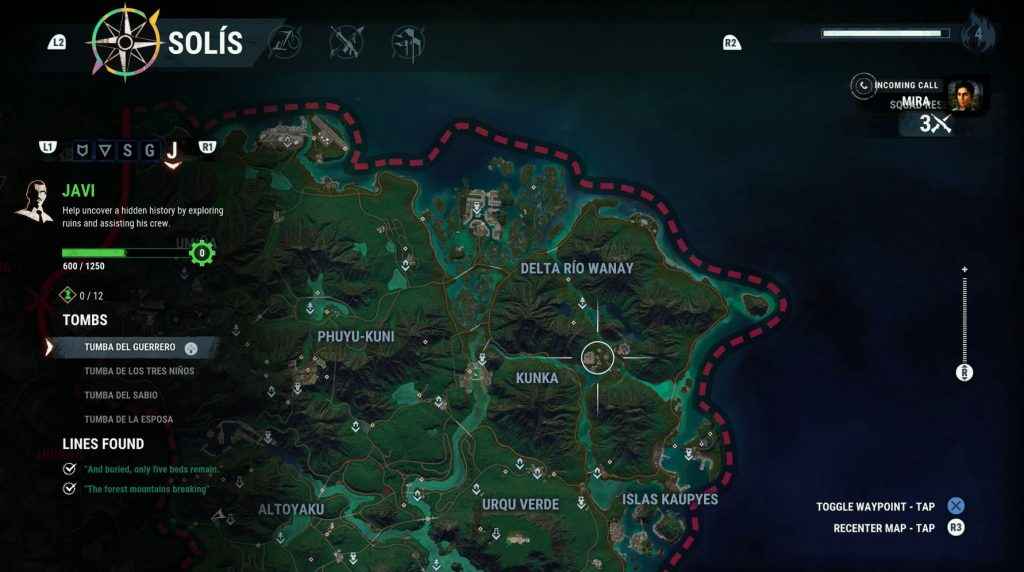
In Just Cause 4 there are three side questlines. One of those involves discovering a hidden bloodline on the island of Solis for Javi. This questline asks you to find tombs around the map. We have a guide on each Tomb’s location, alongside how to solve the puzzle related to opening that tomb. Here are all of the Just Cause 4 Tomb Locations.
As a note having the upgrade that allows you to equip multiple retractors is incredibly useful here, if not mandatory.
Just Cause 4 Tomb Locations – The Secret History of Solis
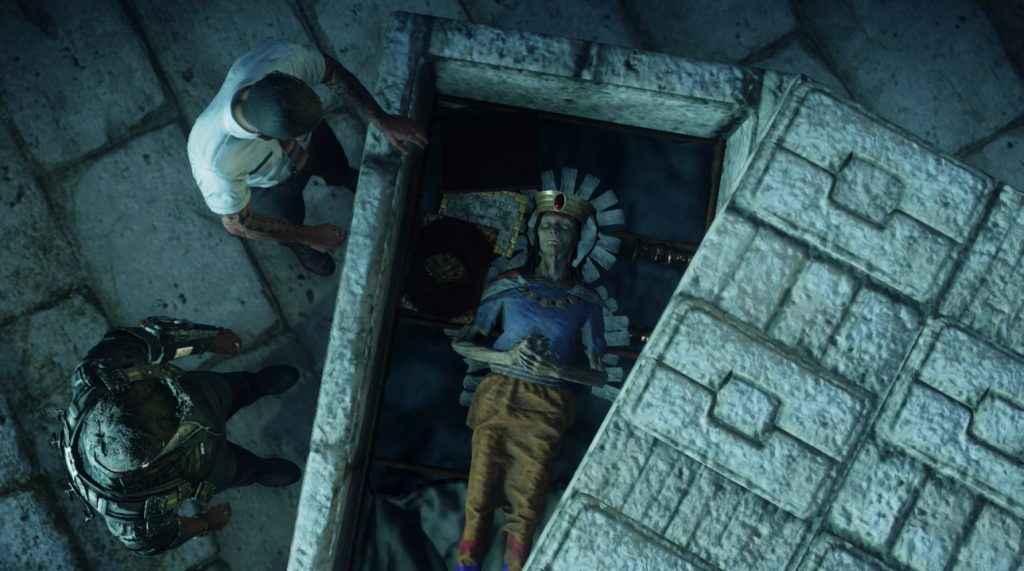
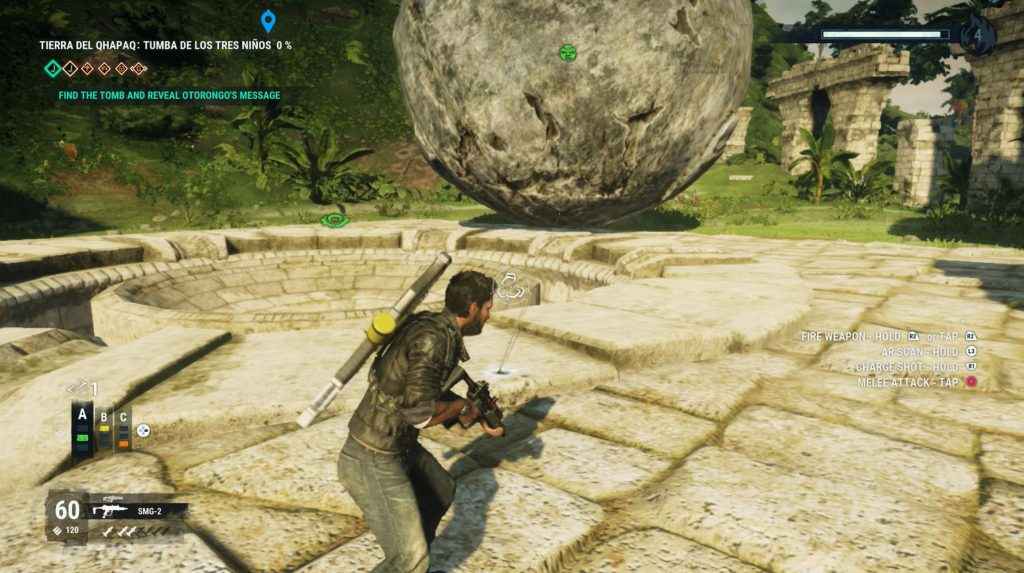
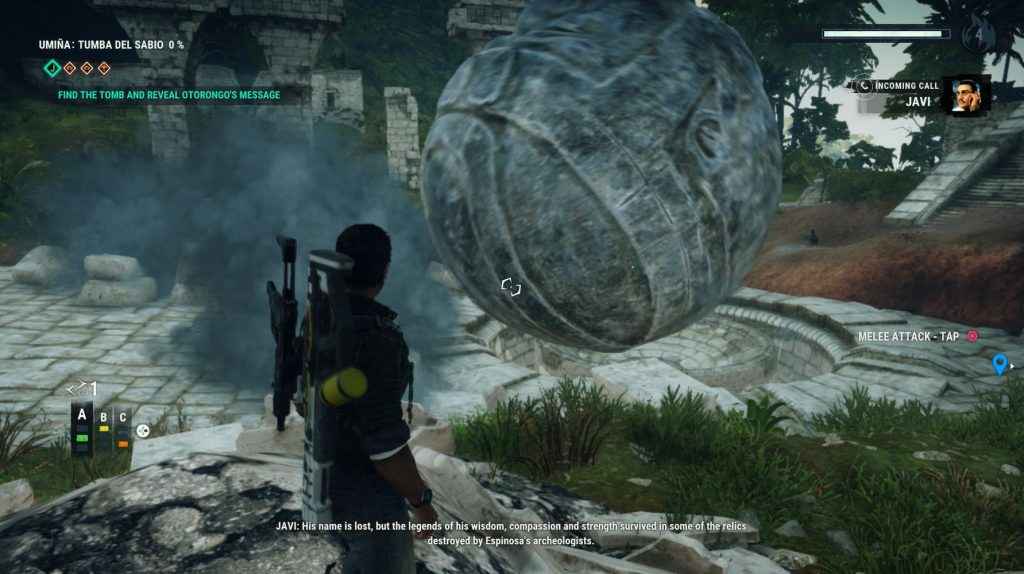
The first tomb is Javi’s first mission. It is part of the main story and can be found early on in the game. The Secret History of Solis will introduce you to the tombs and how to solve them. You will want to use your retractor to pull the ancient lever. This will release a giant boulder called Uma.
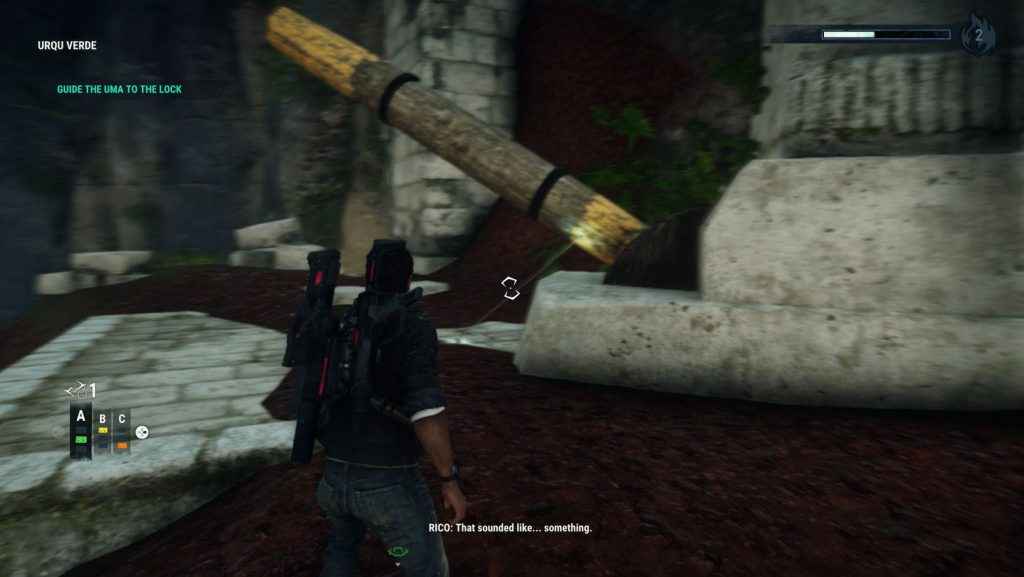
It will fall down a giant gap. Follow it to the bottom. Now, use your retractors to pull Uma onto the pressure plate shown below.
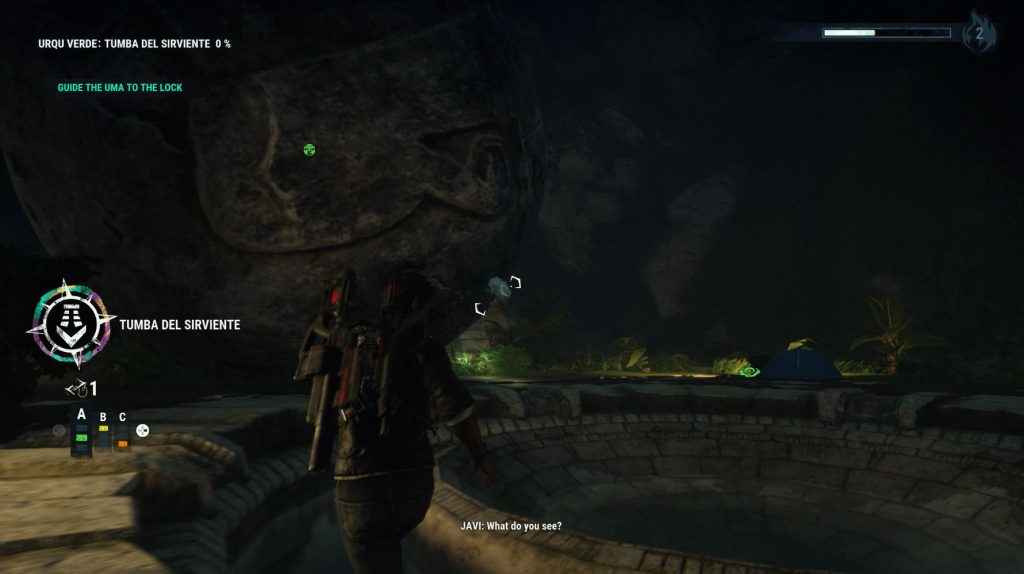
Now turn around and head inside the tomb indicated by the flame symbol on your HUD. Inside, interact with the tomb to reveal the first part of the secret message.
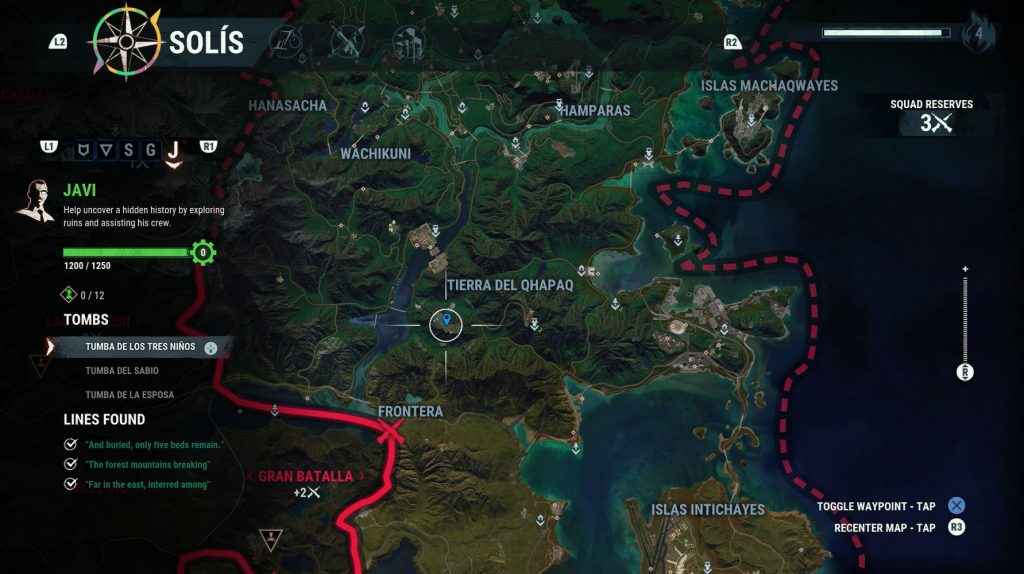
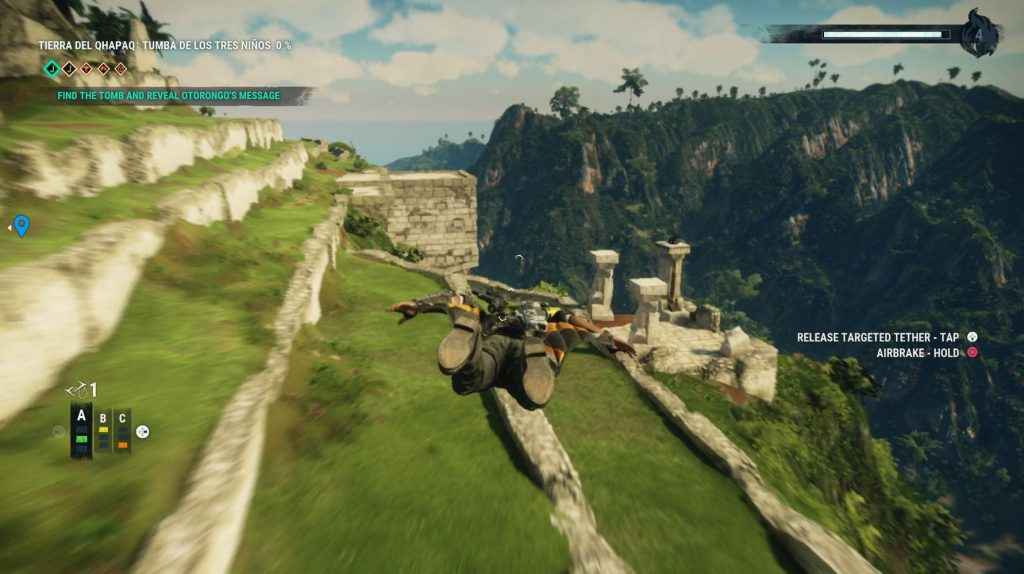
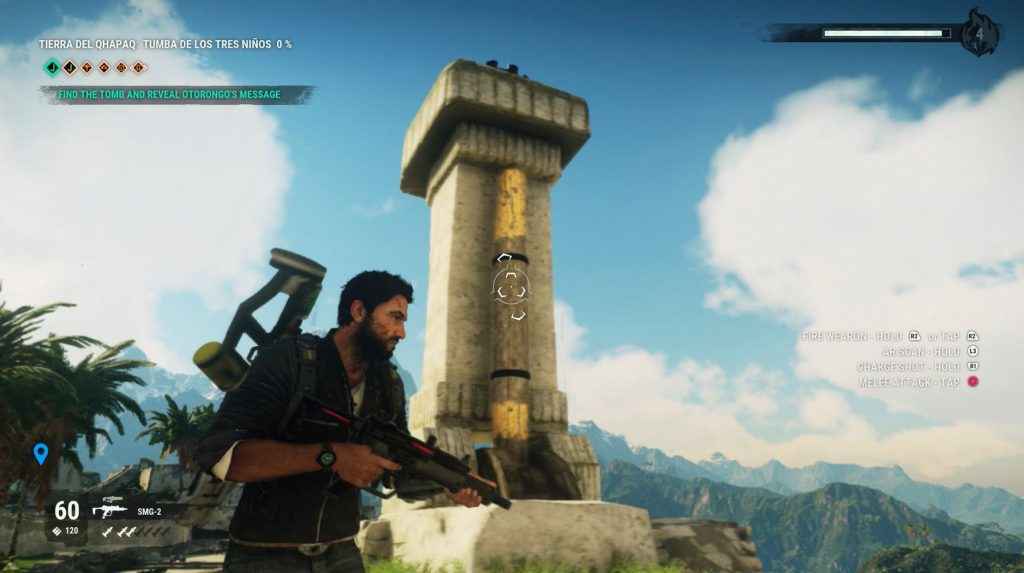
Just Cause 4 Tomb Locations – Tumba De Los Tres Niños
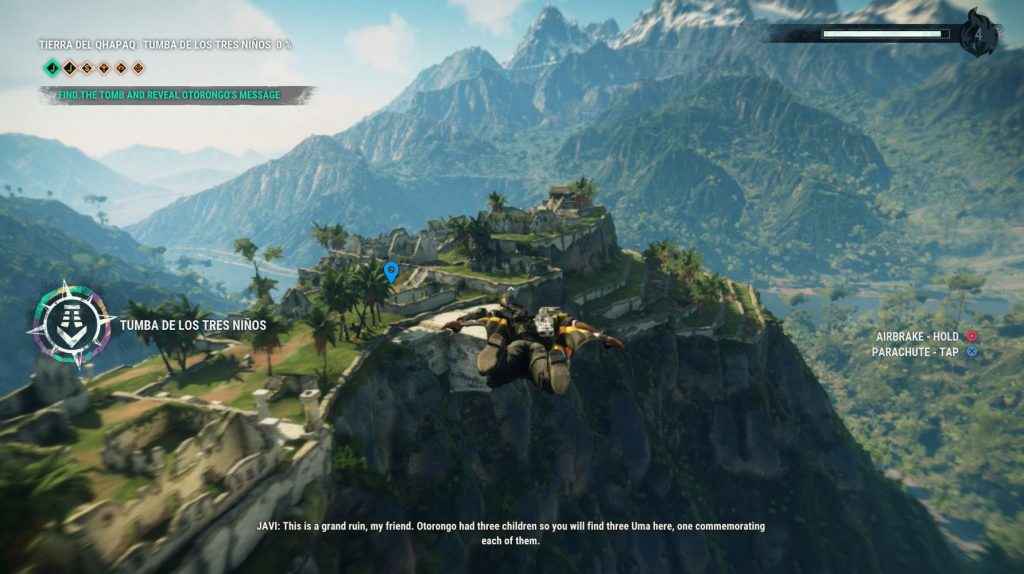
This tomb can be found in the center of the rainforest area of the map, the right side of the map. It requires you to put three Uma’s onto a pressure plate. It can be found just next to Tierra Del Qhapaq on a hill.
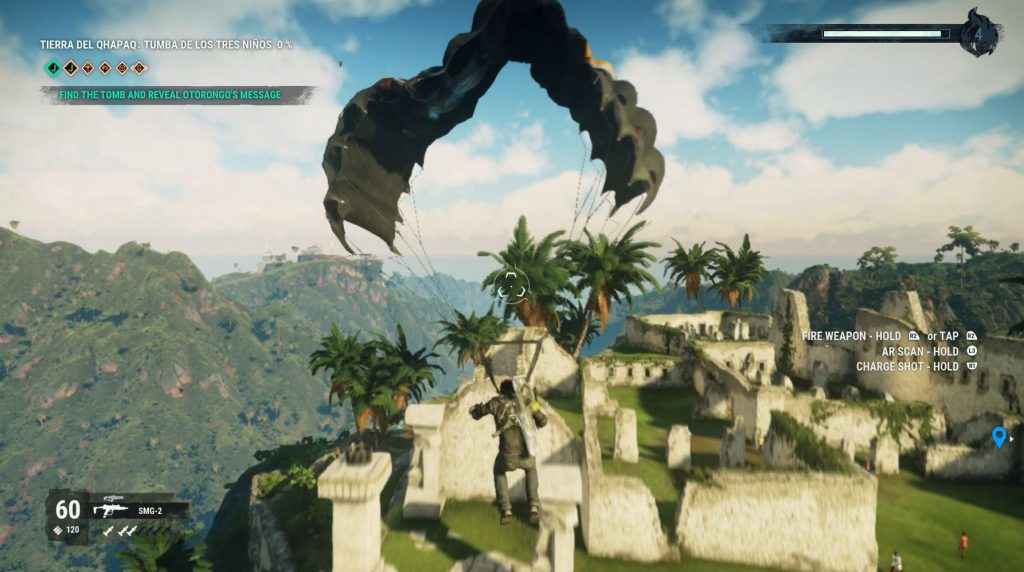
Once there, parachute to the top of the ruins visible, and head to the back of the area.
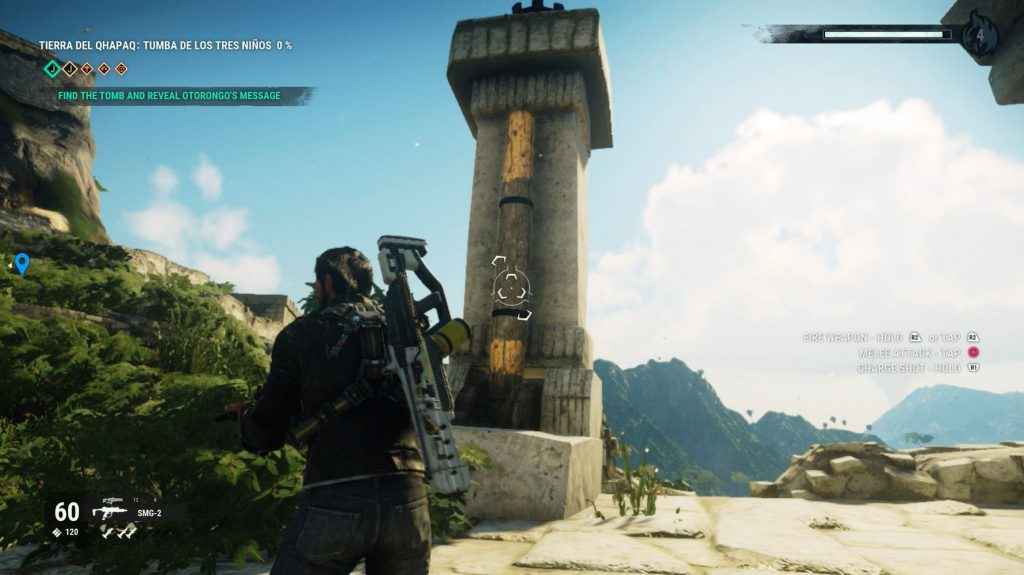
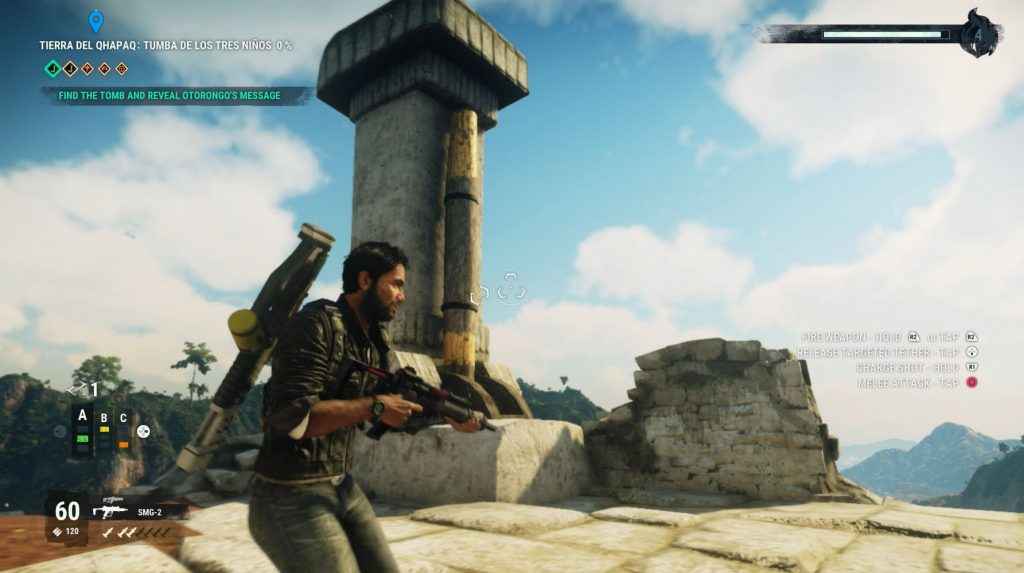
Behind this hill is a lever. Pull it with your retractors.
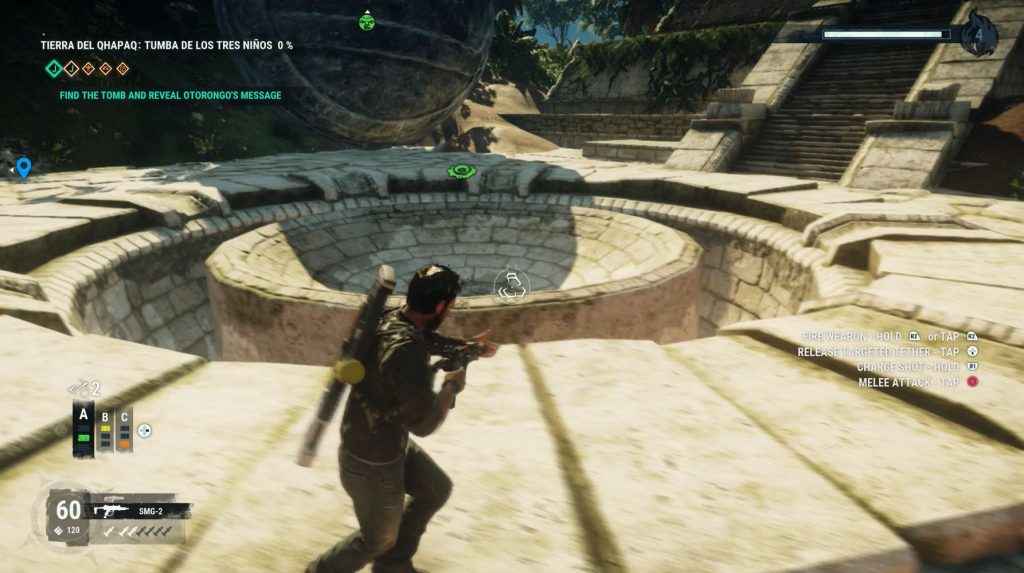
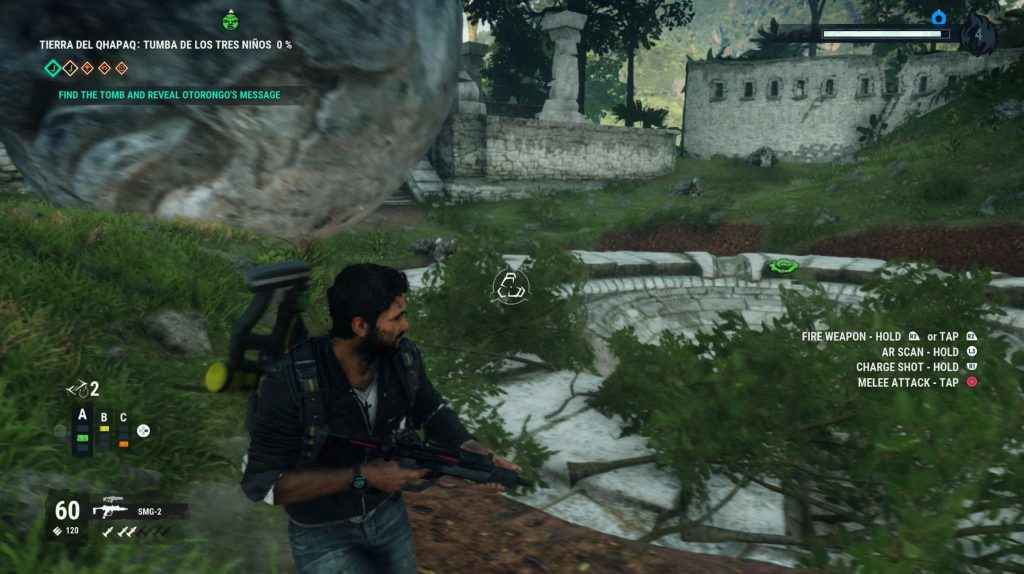
Uma will then be indicated on your screen, follow it to the bottom of the hill and using your retractors, pull it onto the pressure plate.
Now head back to the ruins at the top. This time head to the right side of the area, when your back is to the Uma you just moved.
Against a pillar is the lever.
Follow the Uma down and pull it onto the pressure plate.
Now go to the opposite side of the area, across from the lever you just pulled.
You will find another lever to pull.
Pull the Uma onto the pressure plate once again.
Follow the flame icon again and you will find the tomb at the top of the hill.
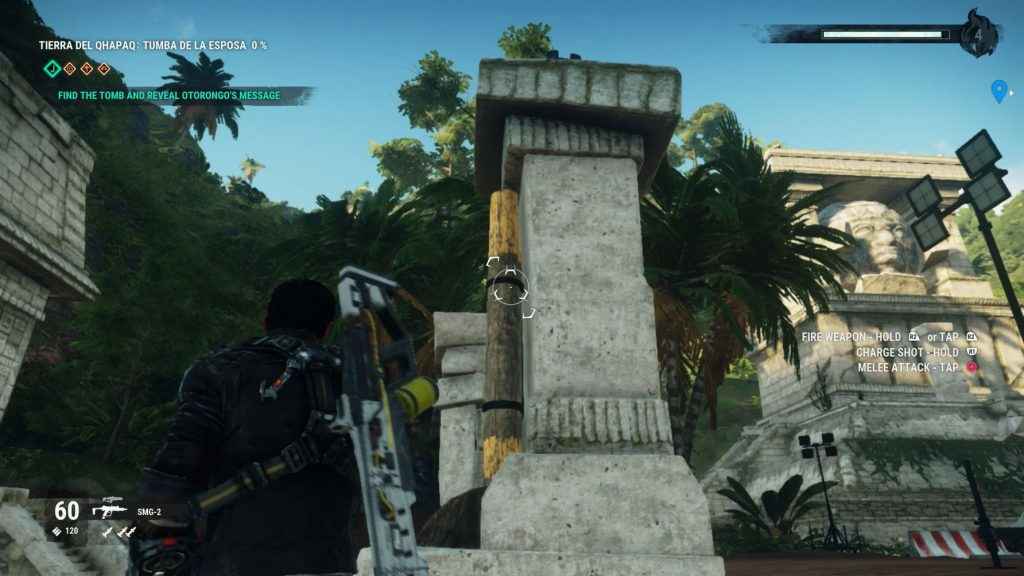
Just Cause 4 Tomb Locations – Tumba De La Esposa
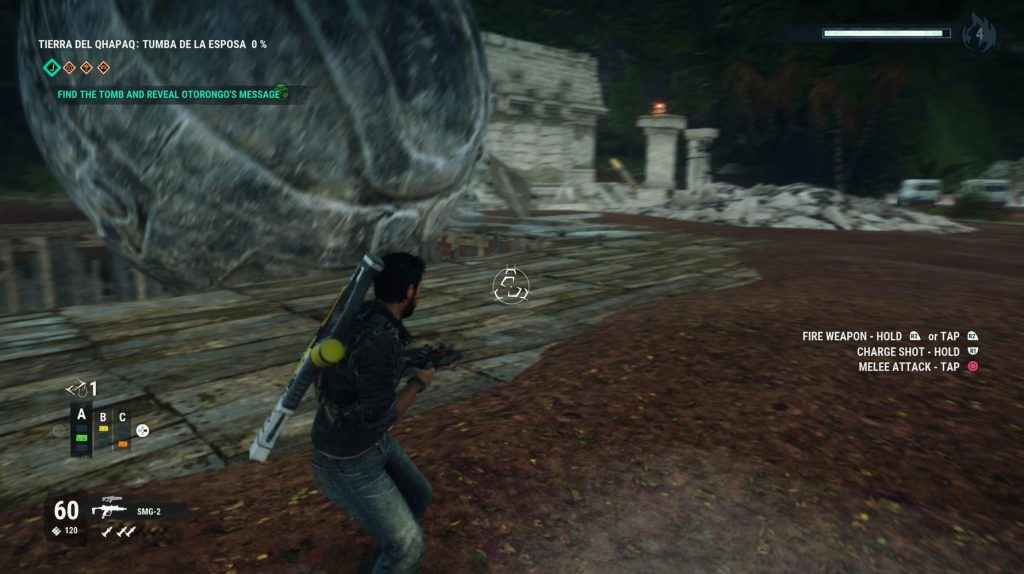
This tomb is on the right side of the map underneath Wachikuni on the map.
Head to the small excavation site. You will find the lever in the back corner of the area.
Uma will roll down. You want to pull it into the giant hole in the ground, just next to where you pulled the lever.
Follow it down and pull the Uma to the far wall.
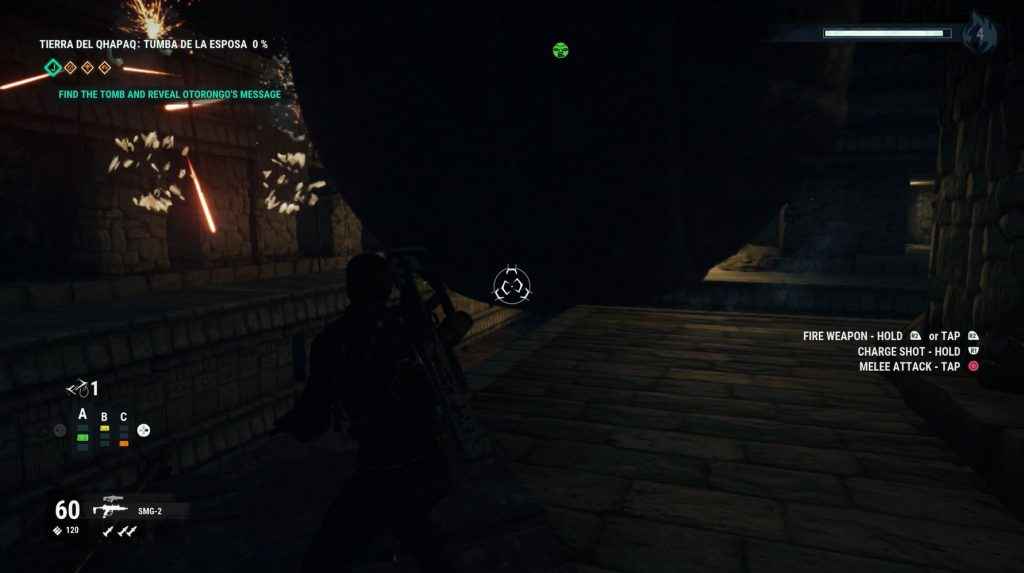
Now pull it to the left path at the intersection.
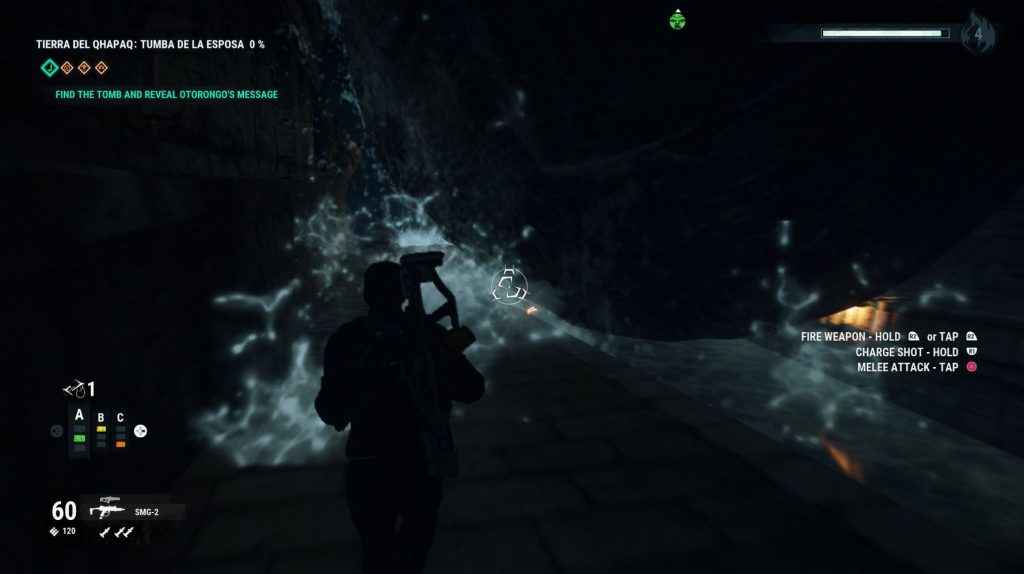
From there pull it down the waterfall and onto the pressure plate.
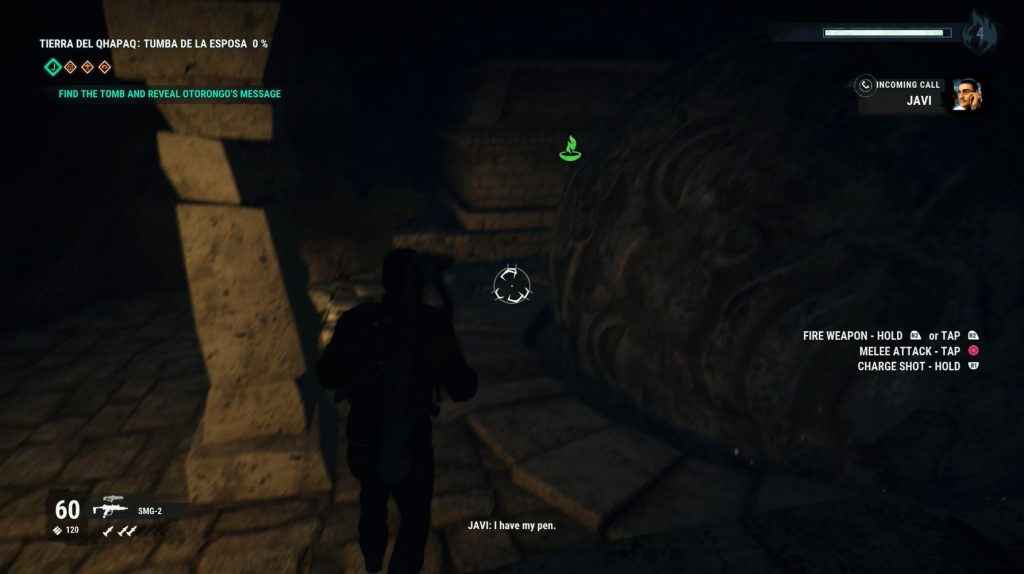
The tomb can be found right nearby.
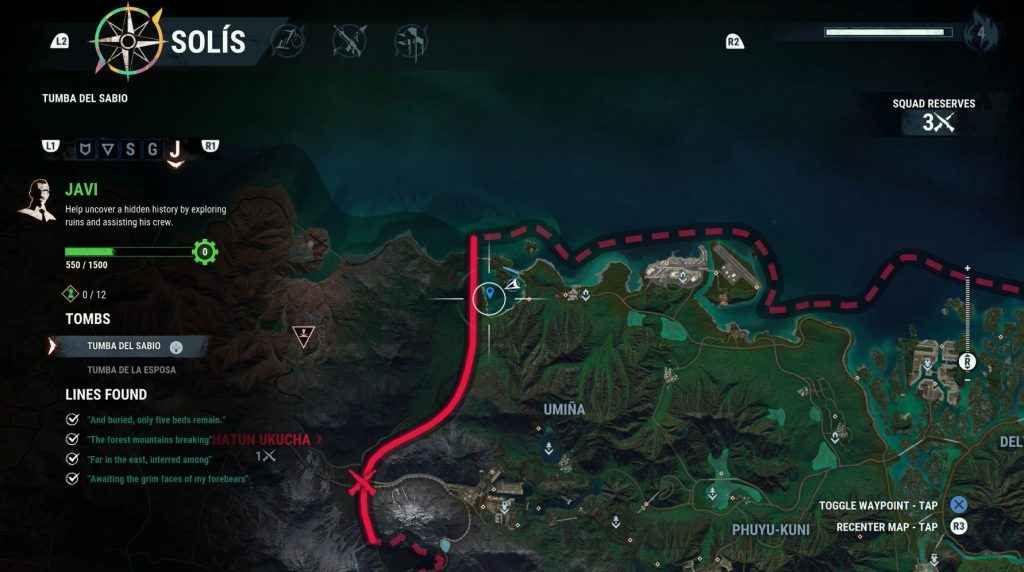
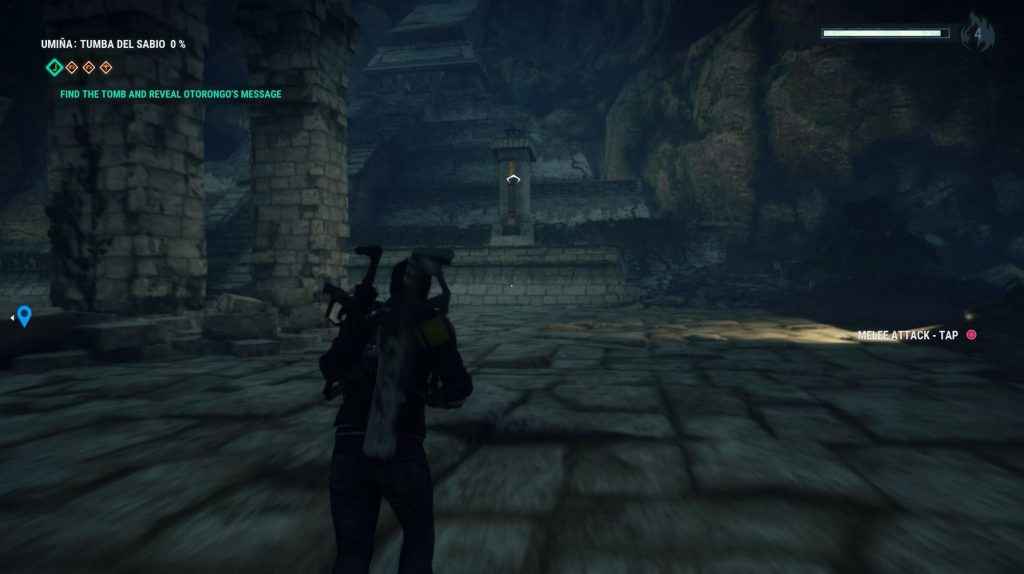
Just Cause 4 Tomb Locations – Tumba Del Sabio
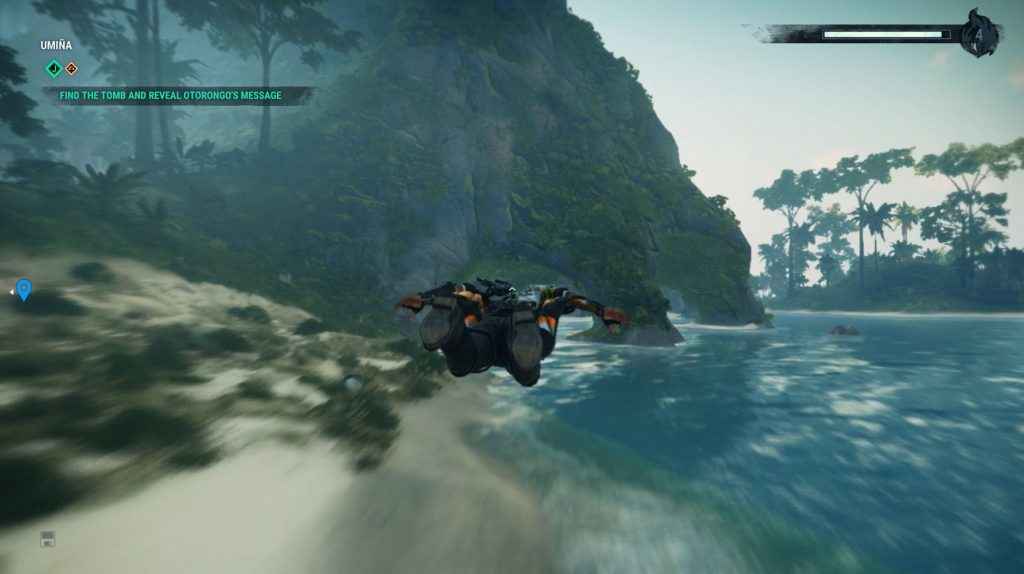
The fourth tomb can be found at the top of the map above Umiña.
To the side, you will see an alcove that the sea runs into.
Once you hit a wall, grapple up and drop down the other side.
Follow the path and grapple up again once you hit the wall.
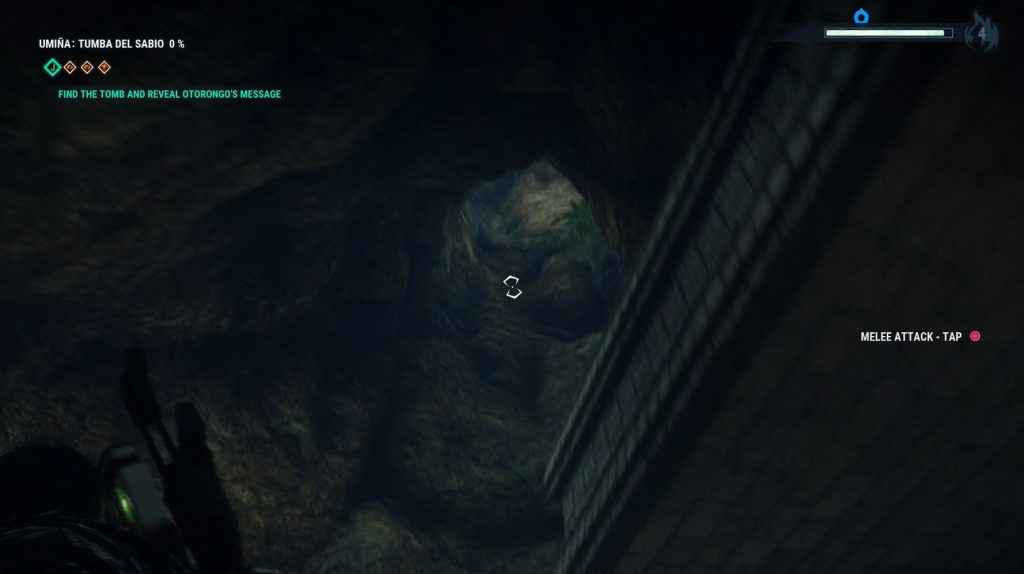
Up here is the lever, pull it.
The Uma will bust through the wall and outside. Pull it onto the pressure plate.
The tomb can be found next to you.
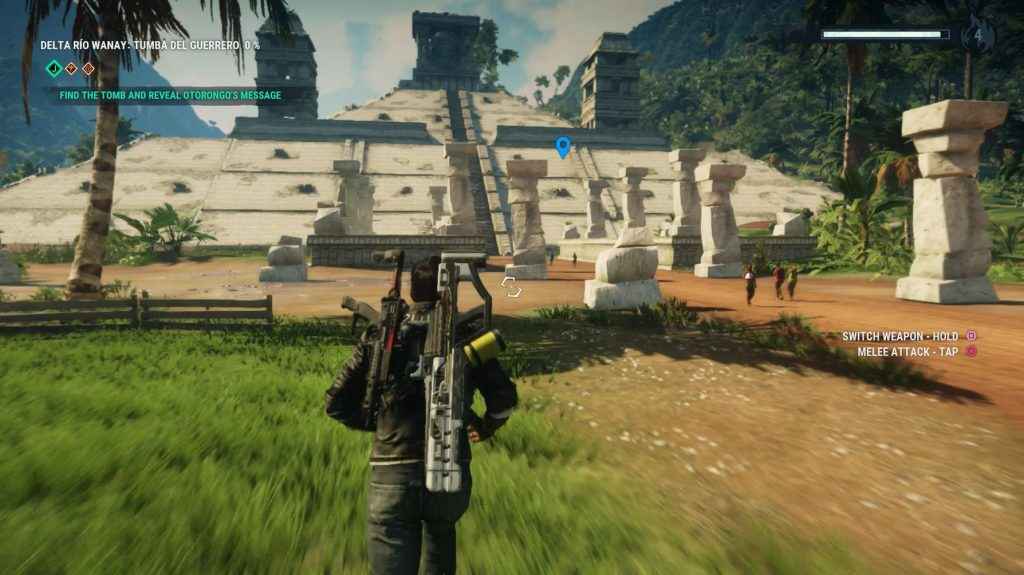
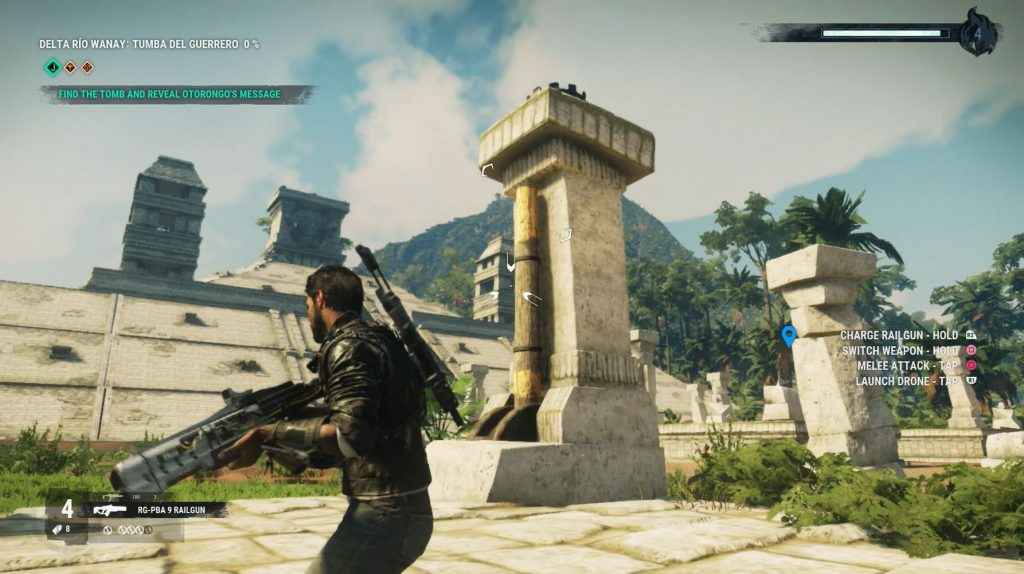
Just Cause 4 Tomb Locations – Tumba Del Guerrero
This tomb can be found on the far right of the map. It is below Deta Río Wanay and North-East of Kunka. This one is a long one.
Head to this area shown below.
The lever can be found on the left side against a pillar.
So, now you need to pull Uma all the way around this small town and into the center. The best way to do this is to follow the brown path as you pull it.
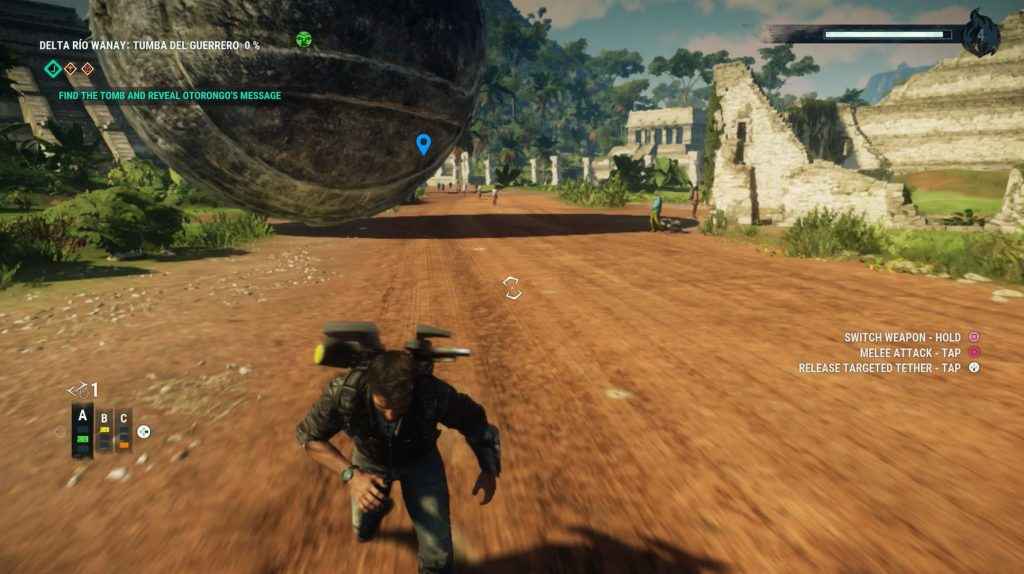
Try to keep it on the main path as if it falls down a hill, this begins infinitely harder. Be wary of bridges as well.
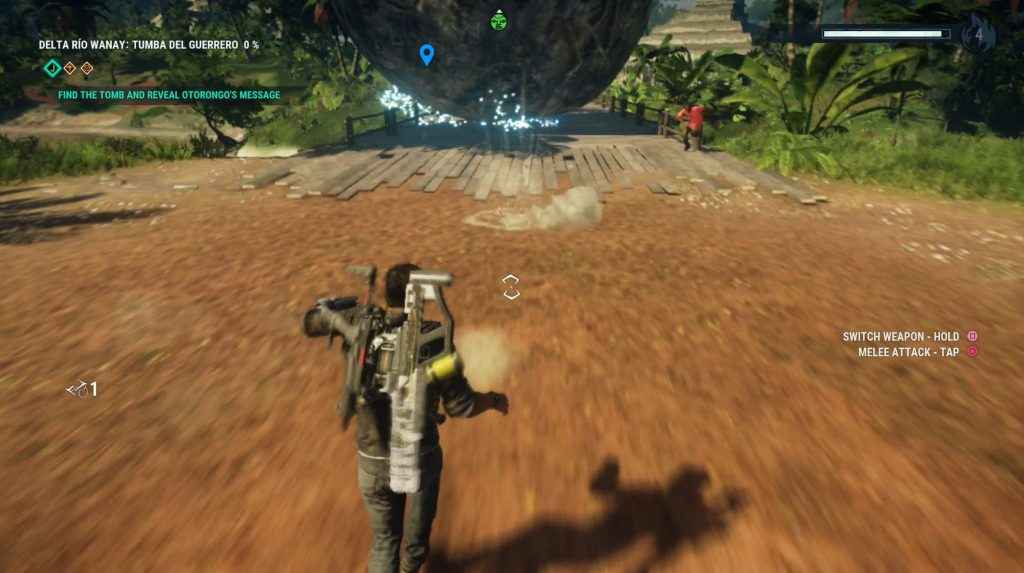
Eventually, you will reach the plate.
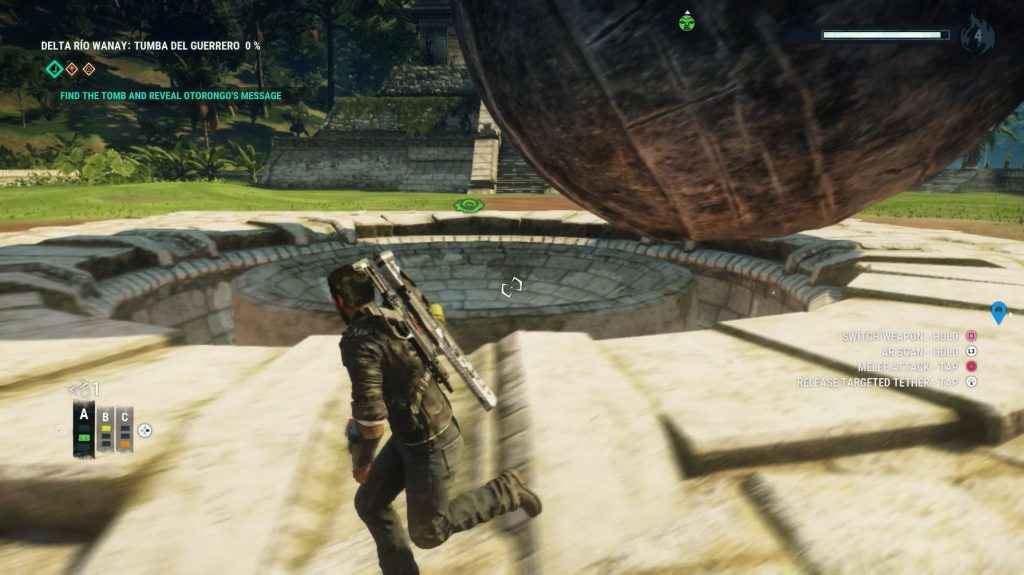
The Tomb can be found in the middle of this entire area.
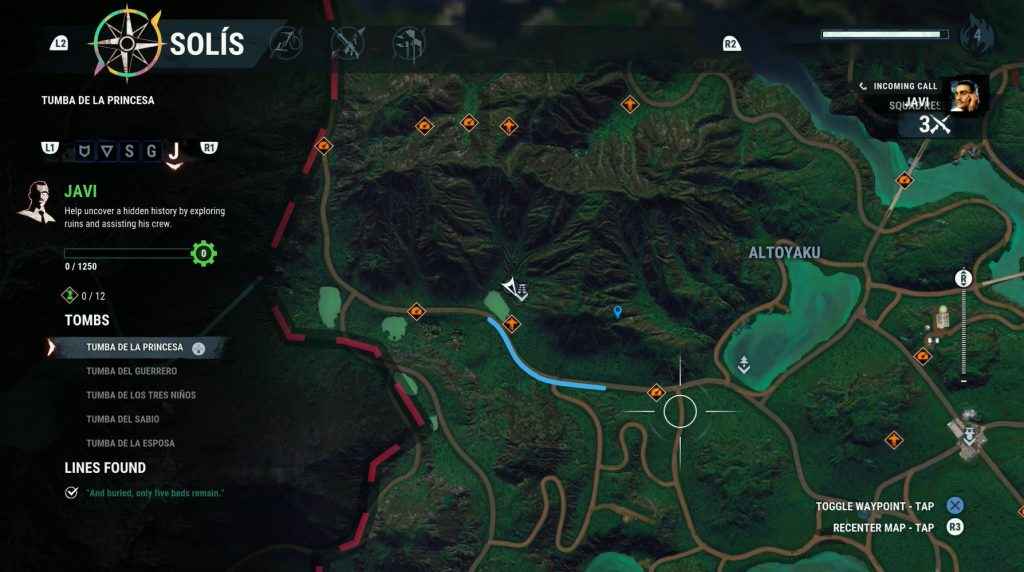
Just Cause 4 Tomb Locations – Tumba De La Princesa
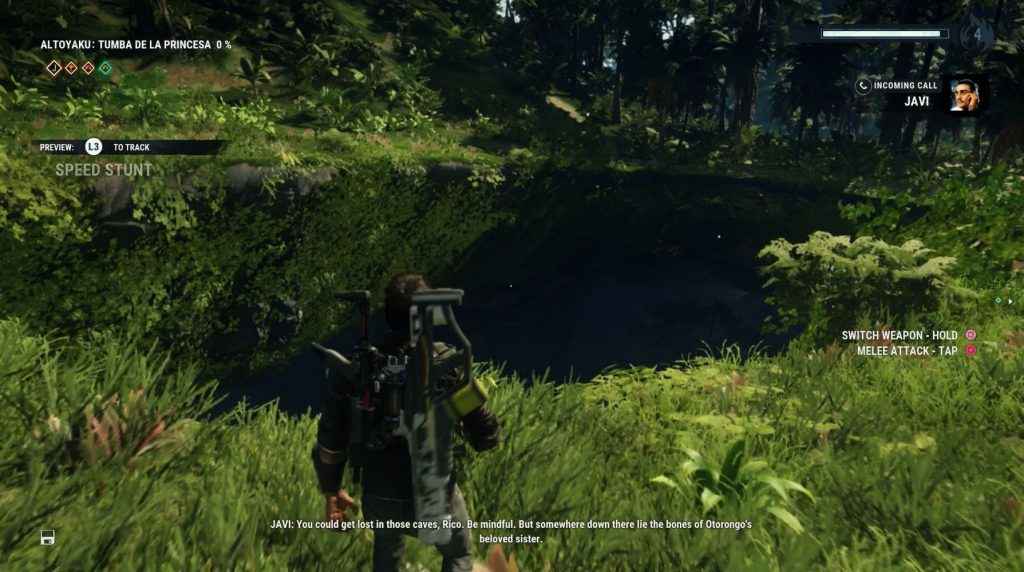
This final tomb can be found on the left side of the rainforest area. It is to the left of Altoyaku.
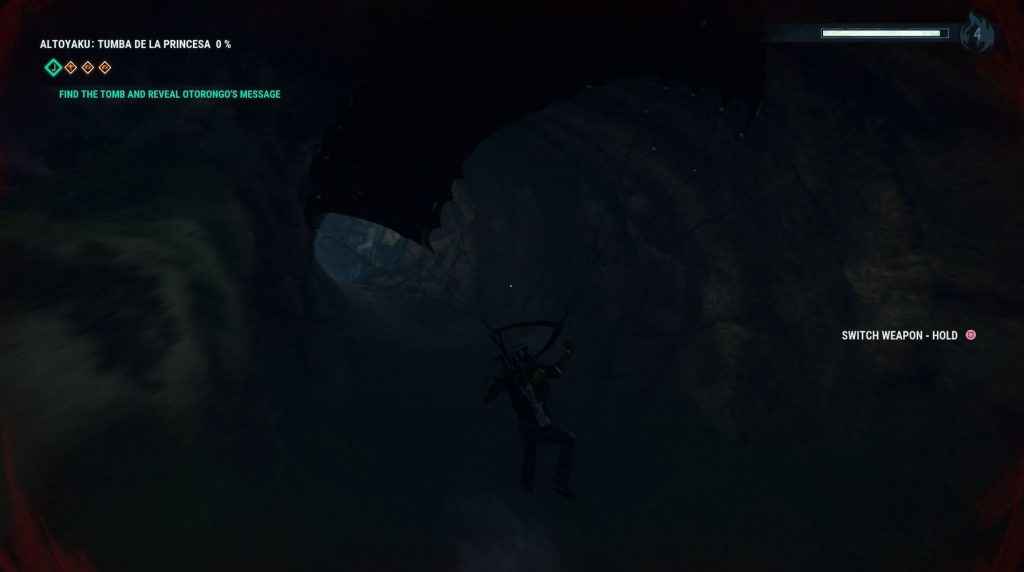
There is a hole in the ground, jump down.
Now, look for a path that is wide and flat. It looks as if one of the Uma’s could roll down it. Follow it up.
Pull the lever at the end of the path.
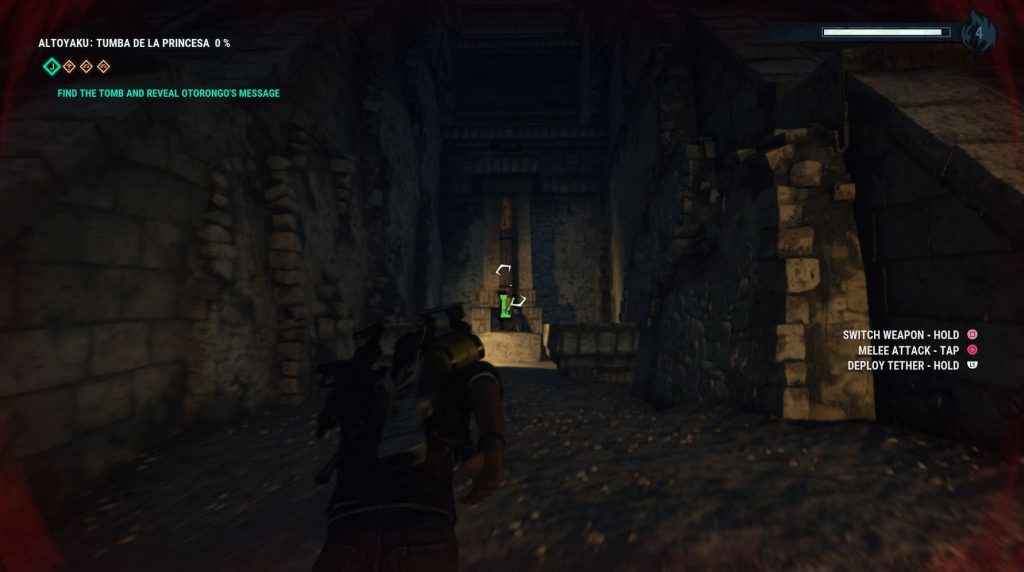
Follow the Uma down. Once it reaches the bottom pull it onto the pressure plate.
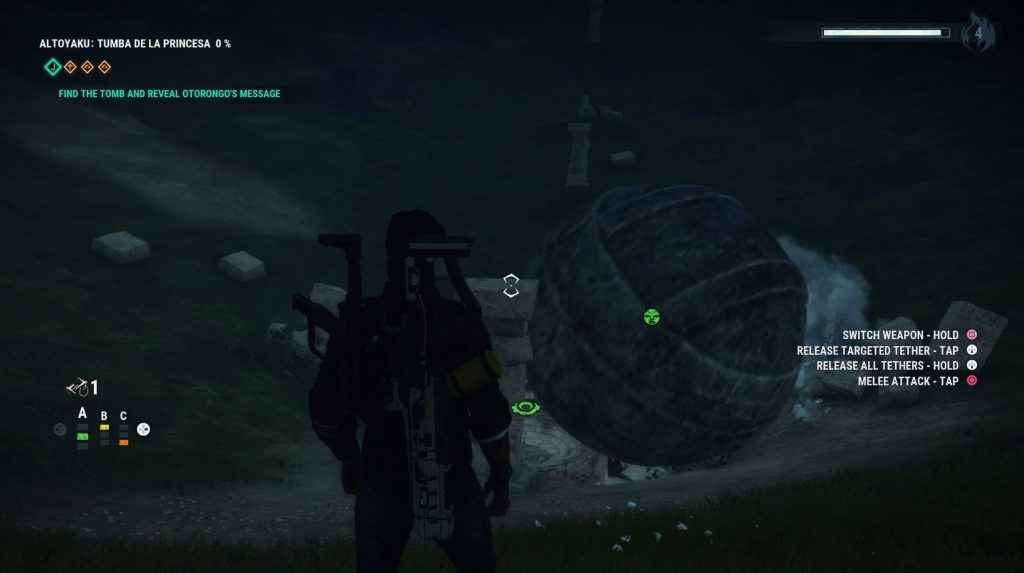
The tomb is quite far away, but follow the flame symbol on your HUD.
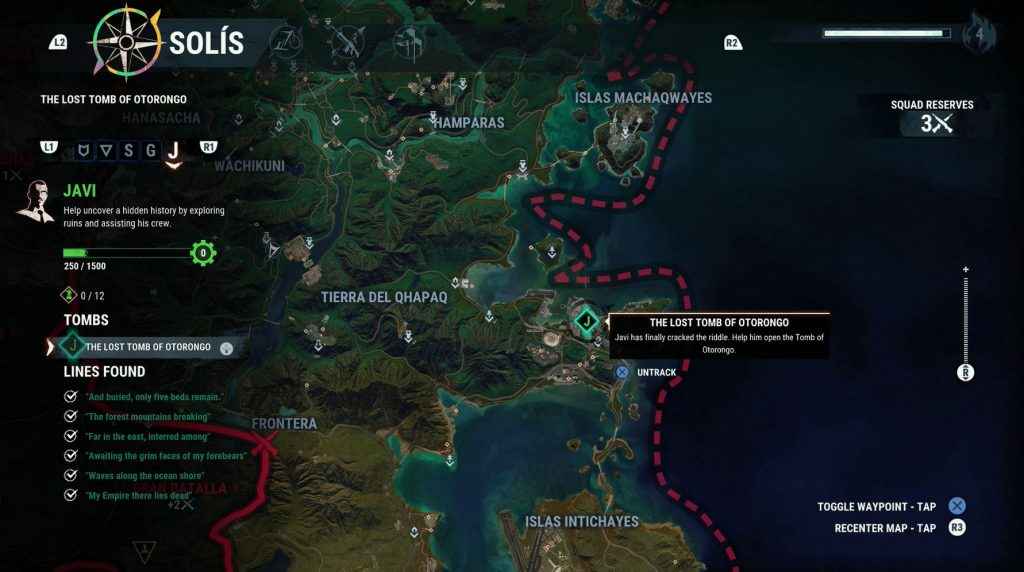
After completing all of these, a new mission will open up on the right side of the map. Here you will find The Lost Tomb of Otorongo.
Our review of Just Cause 4 details the highs and lows of the game. In that review, I concluded that the game had some memorable moments, but was brought down by outdated mission design and poor performance.
There are many confusing aspects to Just Cause 4, here is how to unlock fast travel. As well as that, here is our guide on the game’s PS4 Pro compatibility.