This guide will take you through Maquette‘s The Wedge section and show you how to complete all the puzzles in the area and provide a complete walkthrough.
In this guide:
Maquette – The Wedge Walkthrough And Puzzle Solutions
Obtaining The Ramp
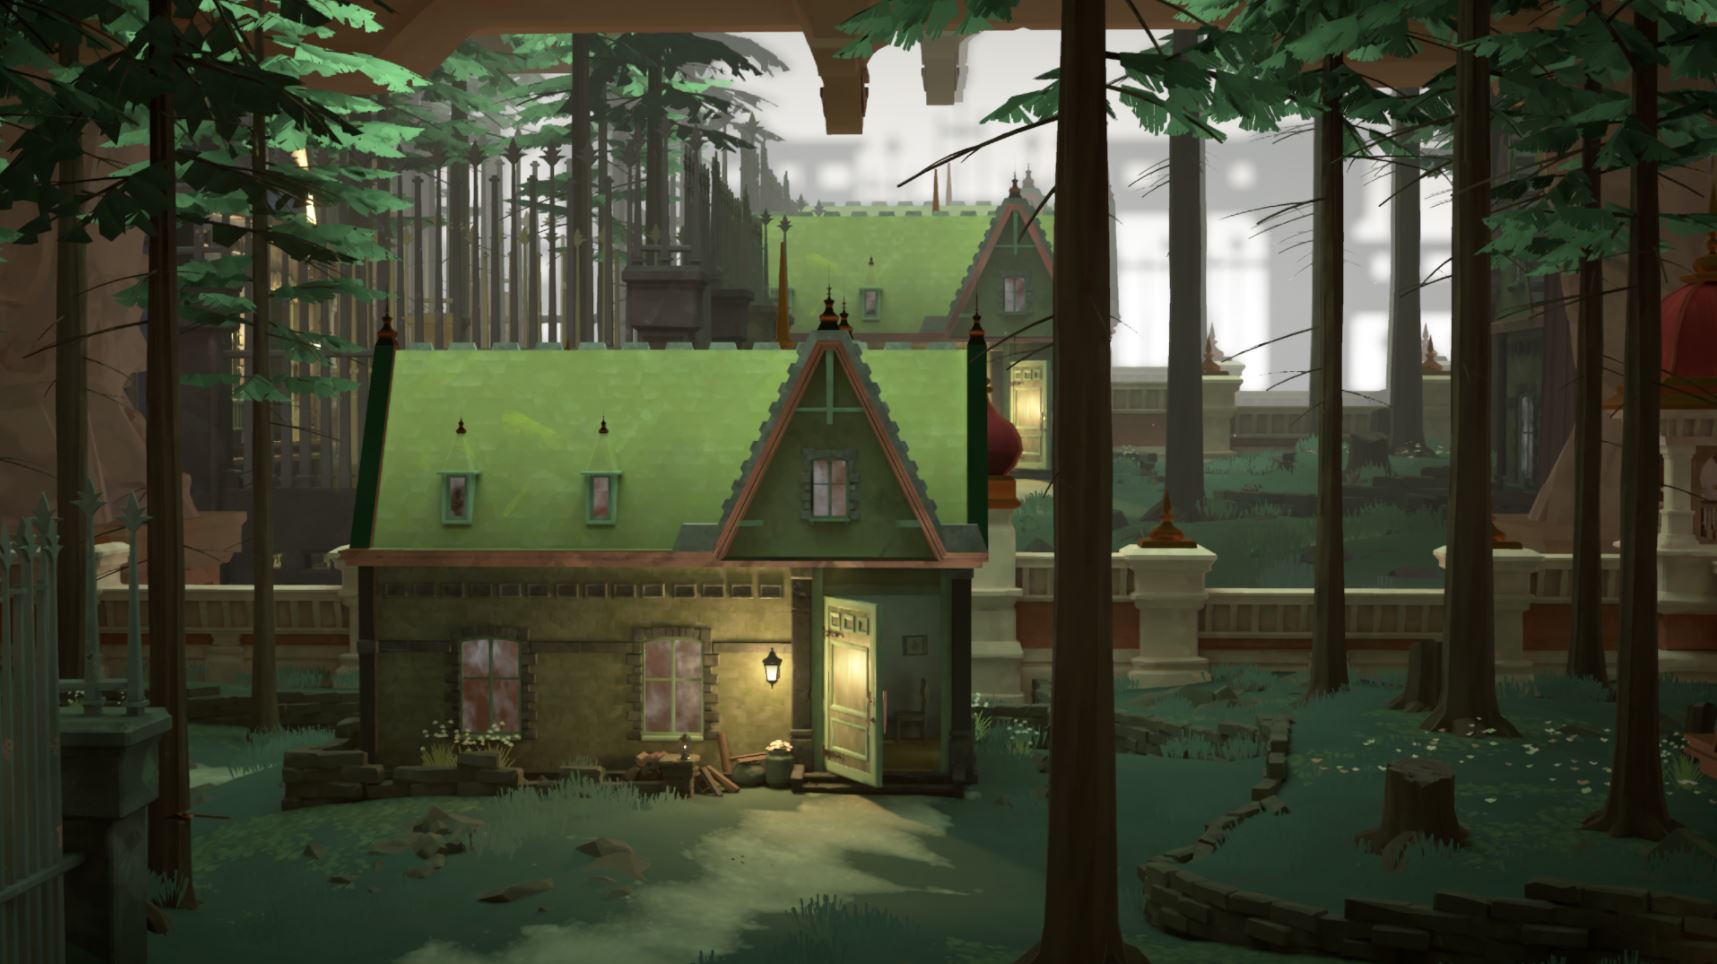
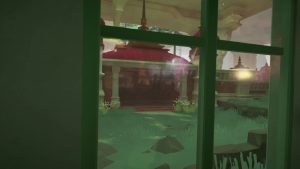
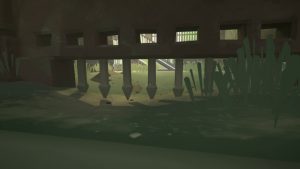
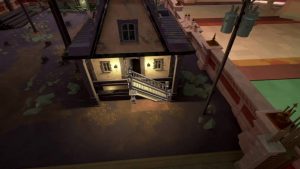
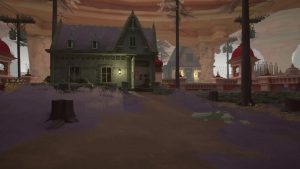
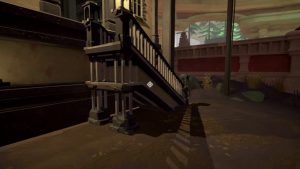
The Wedge is similar to The Gateways, in that it has you exploring all three sizes of the playable area, but this time you have to use the larger side to get through obstacles that are otherwise blocking you. You will begin the level facing a church. Turn to your left to find three houses. Head up to the pink house to have the door unlock for you and go through to the back garden. Enter the small outbuilding and pull the switch to lower the platform and get out to the larger area.

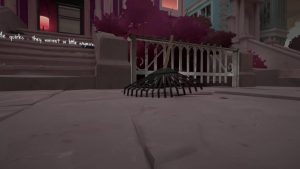
Now, you need to head back into the pink house, but in the larger playable space this time. To do so, walk unbearably slowly (thanks to the lack of a run button) over to the house and climb up the rake to the fence next to the set of steps. Walk back along that fence and jump down to the steps.

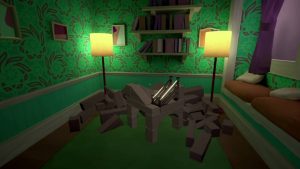
Once on the steps, use the plant pots and rocks to help you jump up to the next step. Use the books inside, on the right, to jump up to the model of the house and enter its front door and watch a scene that isn’t Kenzie and Michael’s happiest moment together.

Pick up the ramp on the blocks in the house and then make your way back out to the platform you used to get down here. Pull the switch to raise yourself back up to the normal play area.

The Gated House
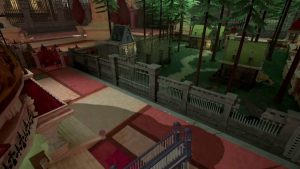
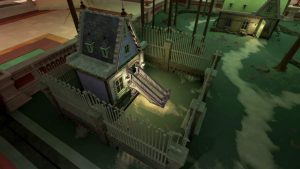
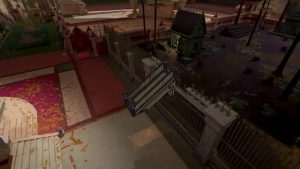
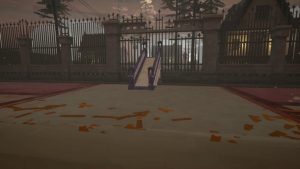
Once back up to the normal area, head to the model and look for the gated area with a grey fence. It looks like another quadrant of this area, but the one you want is the one that has a fence with a hole in it, on the right. Place that ramp in front of that hole in the fence.
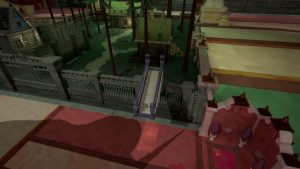
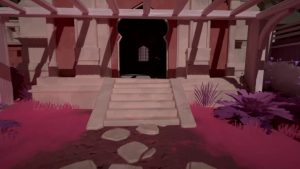
Once it has been placed, walk up the ramp in the normal play area and jump through the gap to get inside the gated area. Right in front of you, you will see a house. Go round to the other side of it to enter its front door and flick the switch inside to lower the fence blocking off the area.
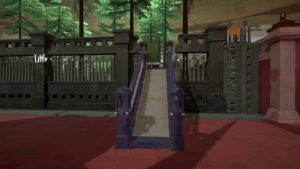
Go back to the model and pick up the ramp once again, this time placing it in front of the door to the house in this area which is blocked off by another fence.
Return to the area within the normal play space, this time entering the house at the far end and pullling the switch. This will open up the exit to the larger area at the rear of this quadrant.

Exit the house and make your way into the larger arena by going out of the exit you just opened. Slowly walk your way over to the house where you just placed the ramp and go through the holes in the wall and fence. Use the ramp to jump into the house. Once inside, you will be greeted with another relationship scene.

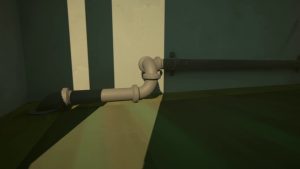
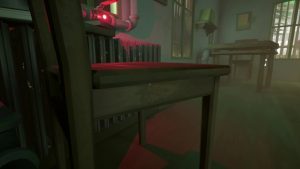
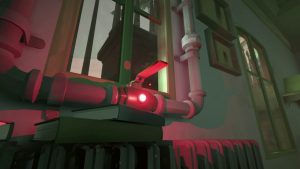
In the far-left corner of the room, you will find a pipe, with a switch next to the window on the wall adjacent to it, and a chair underneath that switch. The goal is to use this pipe to reach that chair and flick the switch. So, jump onto the pipe and up to its raised level. Do the same when you reach the next raised piece, near the chair. From this piece of pipe, jump to the chair and then pull the switch by looking at it and interacting with it.
From there, head back outside and up to the exit you used to get back into the main play space.
The Wood
Once inside the normal-sized play space, pick the ramp up and place it in front of the gate guarding the wood. We can’t do anything here so we need to enter the larger arena again; to do this, use the switch in the corners of the central area to lower yourself down.

Walk over to the ramp and jump from it through to the wood, by going through the bars, which you are now small enough to squeeze through.
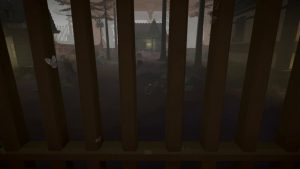
Enter the house on your left and look directly up as you enter. There will be a switch on your left, just next to the window. Position yourself on the ground so you can pull it or jump and pull it if the controls don’t quite have their head screwed on correctly. This will lower the fence gating the area.
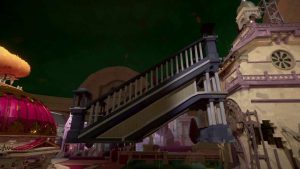
Head back to the normal-sized play area. Yes, it really does take this long to walk there! Return to the model and pick up the ramp again. This time, place it against the house which doesn’t have a staircase, at the front of the area on the right. It needs to be placed just in front of the front door on the second floor, and also positioned a little bit away from the wall so the ramp doesn’t get caught.
Within the normal area, head to the house at the back of the wood and pull the switch inside to open the exit at the rear.
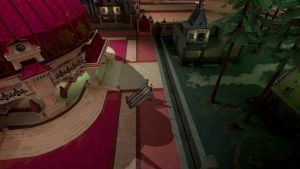
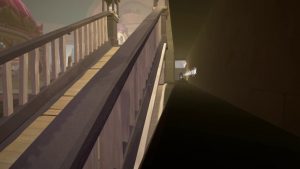
Leave the wood through this exit and make your way to the ramp again. In order to reach this second floor, you need to use the markings and design of the ramp to your advantage. So, head to its side and walk up the small ledge to reach the first level of the outer wall of the house.
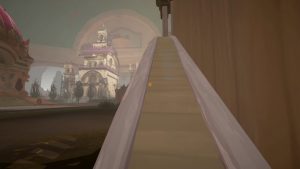
Once you have jumped to the outcrop on the wall, make your way down to where the lowest point of the railing is and jump onto it. This allows you to access the second floor.
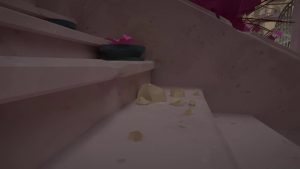
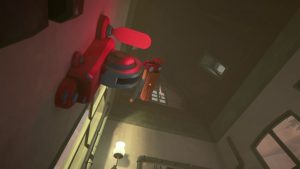
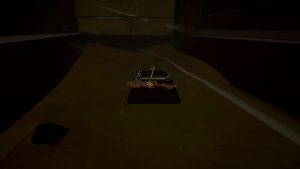
Jump into the house and go around the corner to find a hole in the wall, which when approached will show you a scene of Kenzie and Michael’s relationship slowly getting more strained. Once that has finished, head through the hole and pick up the key from the mousetrap.

Finally, walk all the way back to the main, normal-sized playable space to begin the final part of this level.
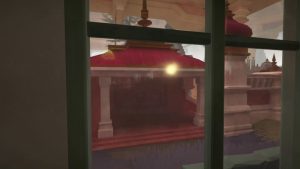
The Church
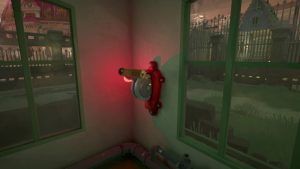
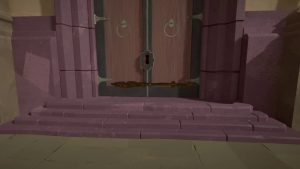
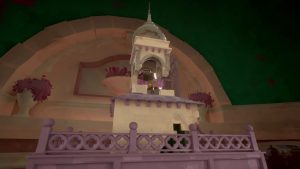
Take the key you just obtained back to the church where you began the level and hold it out in front of you to unlock the door. Step inside to cause the bell of the church to ring, which you now need to stop ringing.
Grab the ramp from in front of the house where you got the key (make sure it is the ramp from the normal-sized area, not the model). Place that ramp within the model, right up against the front of the church. Finally, jump onto the ramp within the model and interact with the bell at the top of the church to complete the level.
Congratulations! You can now move onto The Escape, which is where Maquette’s narrative enters its final act. You can also see our full walkthrough here.
Maquette is available now on PS4 and PS5.